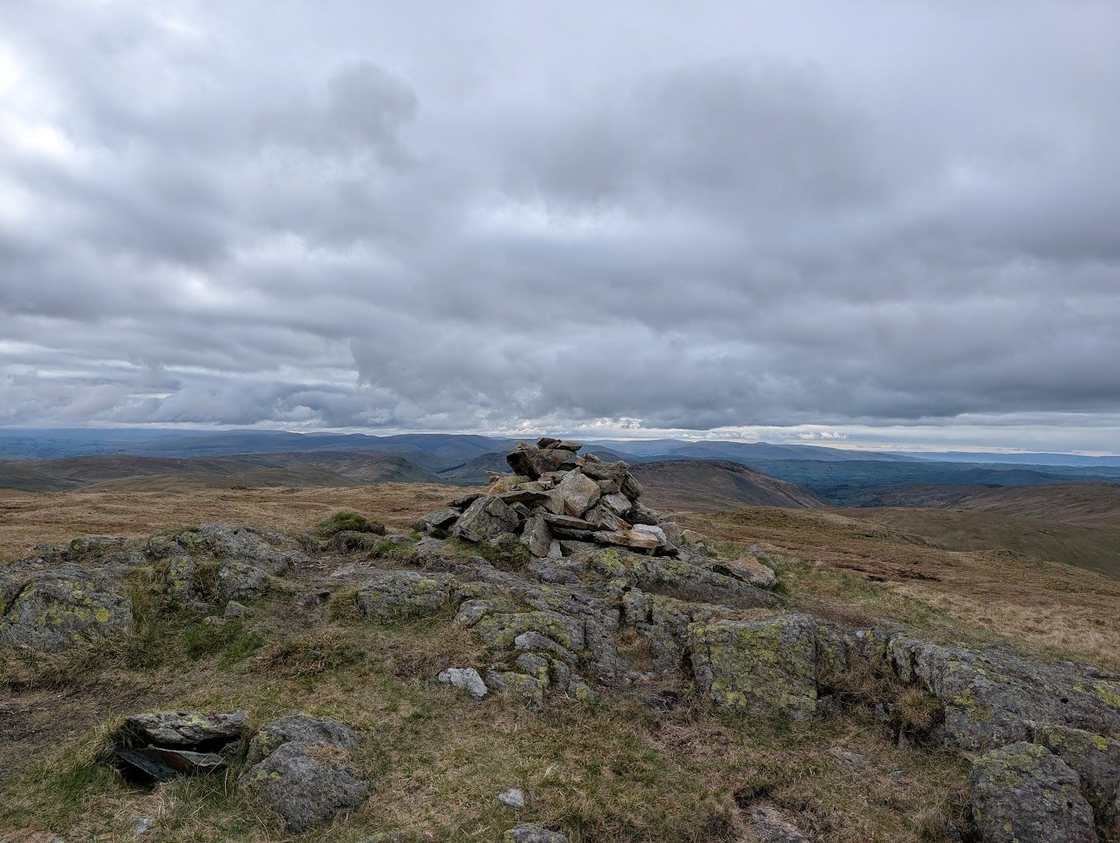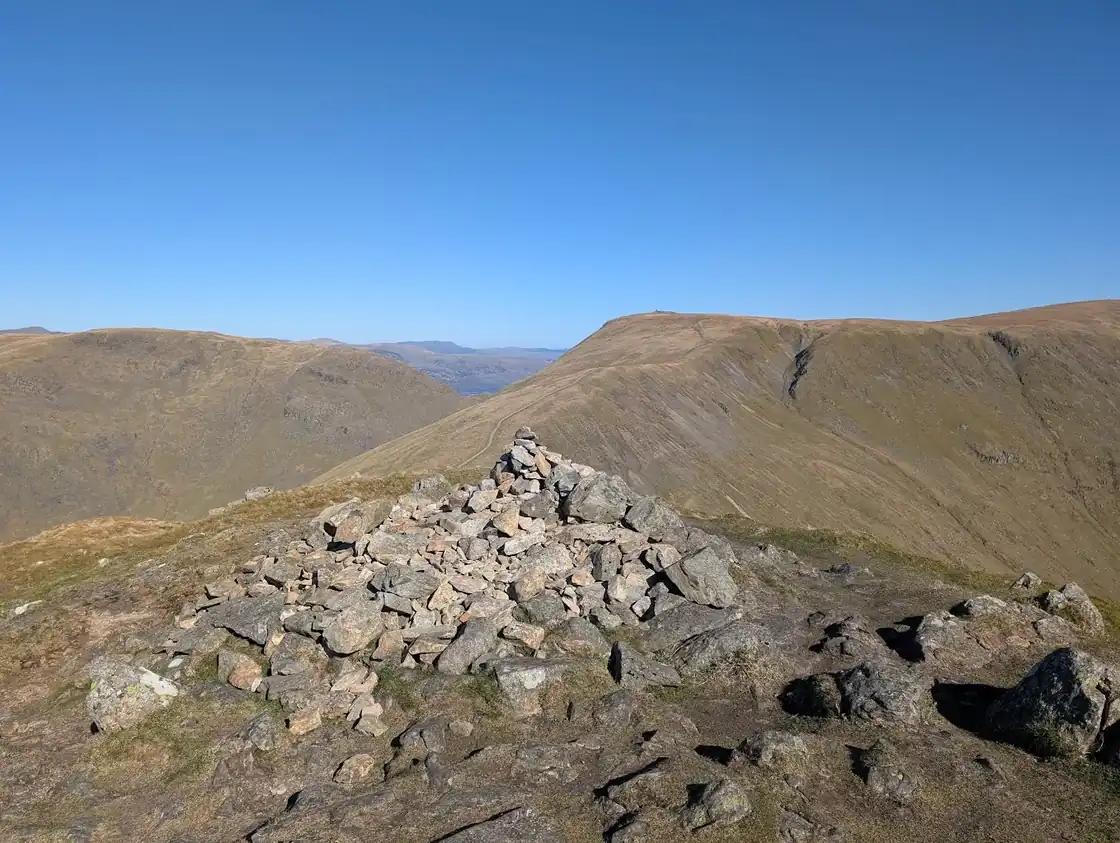
Kentmere Horseshoe
Photo: © Lee McCoy
Key facts
✎️ Walked and described first-hand by Lee — a big mountain day (≈13 miles / ~3,700 ft, 6–8 hours). Start early, carry OS Explorer OL7 and a compass (the eastern ridge walls and fences are vital handrails in mist), and know the escape options.
Difficulty profile
Five independent axes, not one score. “Desk” ratings come from maps and guidebooks, not yet walked — treat them as a guide, not a survey.
Conditions on this route
We score every Lakeland Wainwright each morning on cloud, wind, rain and underfoot, and this route crosses 8 of them. The worst summit governs the verdict — a route is only as kind as its roughest top.
Modelled guidance — not a substitute for the mountain forecast or your own judgement. See how every fell ranks today →
☀️ Daylight & turnaround
Daylight is short from October to February — check today’s sunrise and sunset before you set off, and carry a head-torch and spare batteries. On short days, decide your turn-back time before you start.
Why this matters: 78% of Mountain Rescue call-outs come after midday — the day runs out on the way home, not on the way up. See also walking in bad weather and today’s conditions.
1 Yoke2 Ill Bell3 Froswick4 Thornthwaite Crag5 Mardale Ill Bell6 Harter Fell (Mardale)7 Kentmere Pike8 Shipman Knotts
Free mapping: OpenTopoMap / OpenStreetMap (switch layers top-right).
This walk covers about 20.14 km with around 1029 m of ascent, taking in 8 summits. The map above shows the line; the elevation profile and stage notes are below.
Access & barriers
Can a dog, a buggy or dodgy knees manage this route? A quick read from the gates and stiles mapped along the way.
- Dog: A stile of unmapped type — a dog may need lifting over.
- Buggy: Stiles or rough going on the route.
- Knees: A long, steep ~32% drop around the 6.2 km mark — hard on the knees.
On the line: 12 gates · 2 kissing gates · 7 stiles (type unmapped)
These are mapped barriers, from OpenStreetMap — coverage in the Lakes is good but not guaranteed complete. Spotted a stile or gate we’ve missed? Tell us (opens in new tab) and we’ll fix it. Barrier data as of 2026-07-09. Access data © OpenStreetMap contributors (via Overpass).
Pacing
| Summit | Cumulative | Ascent | Time (fast–steady) |
|---|---|---|---|
| Yoke | 5.1 km | 528 m | 1:53–2:31 |
| Ill Bell | 6.1 km | 607 m | 2:14–2:59 |
| Froswick | 7.0 km | 663 m | 2:30–3:20 |
| Thornthwaite Crag | 8.7 km | 814 m | 3:06–4:07 |
| Mardale Ill Bell | 10.5 km | 833 m | 3:29–4:38 |
| Harter Fell (Mardale) | 12.3 km | 994 m | 4:07–5:28 |
| Kentmere Pike | 14.1 km | 1025 m | 4:31–6:01 |
| Shipman Knotts | 15.9 km | 1029 m | 4:53–6:30 |
| Finish | 20.1 km | 1029 m | 5:45–7:38 |
Naismith-based estimate — a fast/steady range. Your pace will vary.
The walk, stage by stage
Kentmere village → Yoke (5.1 km, 528 m)
Climb of about 528 m over 5.1 km (around 10% average).
Yoke → Ill Bell (1.1 km, 80 m)
Climb of about 80 m over 1.1 km (around 7% average).
Decision point: Clear ridge path north from Yoke's cairn; it bends left and drops gently past a small tarn (handy dog water) to the saddle above Rainsborrow Cove, then climbs the rockier far flank. Near the top several lines weave through rock but all meet on Ill Bell's three big cairns — the central one is the true summit.
Easy to get wrong: Don't drift east toward the craggy drop into Kentmere Reservoir — keep to the broad, rounded ridge by the cairns.
Ill Bell → Froswick (0.9 km, 55 m)
About 0.9 km with 55 m of ascent.
Decision point: From the last cairn take the path slightly right, then bending left to drop steeply through boulders around the head of Over Cove (old fence posts mark the line). Once past the rocky step, follow the clear ridge over the saddle and up to Froswick's small cairn.
Easy to get wrong: The first drop off Ill Bell is steep and rough — you may want hands, and it's slow, but it eases quickly. Ignore any path trending left into the valley.
Froswick → Thornthwaite Crag (1.7 km, 152 m)
Climb of about 152 m over 1.7 km (around 9% average).
Decision point: Bear left (NNW) off Froswick and descend steeply to the saddle. As you climb out, the path forks: the right branch goes to High Street — take the LEFT fork for Thornthwaite Crag (Thornthwaite Beacon), the ~14 ft stone pillar that only appears when you're close.
Easy to get wrong: The High Street fork is the classic place to go wrong — keep LEFT for the beacon. In mist, hold roughly NNE for the high point. At the beacon several paths radiate (High Street, Mardale Ill Bell, Gray Crag) — orient with map and compass before moving on.
Thornthwaite Crag → Mardale Ill Bell (1.8 km, 19 m)
Undulating section of about 1.8 km.
Decision point: From the beacon head broadly east, over the broken wall, and curve round the head of Hayeswater Gill. At a broken wall crossing your path, turn right onto a narrow trod contouring across grassy slopes — above the great combe of the Kent, beneath Gavel and Bleathwaite Crags and Hall Cove — toward Mardale Ill Bell. The path passes just below the top; as it swings south, bear left over pathless grass to the summit cairn (small tarns nearby hold water in dry spells).
Easy to get wrong: Don't carry straight on toward High Street at that broken wall — turn right onto the contour. In mist, keep the deep Kent corrie below on your LEFT and hold a gentle contour; if you find yourself climbing steeply, you've drifted back toward High Street.
Mardale Ill Bell → Harter Fell (Mardale) (1.8 km, 161 m)
Climb of about 161 m over 1.8 km (around 9% average).
Decision point: Bear right and pick up the wide path SE then E, soon stone-pitched, down to Nan Bield Pass and its stone shelter above Small Water. Cross the pass and take the rough path climbing E/SE up Harter Fell — it zigzags between rocky terraces (no true scrambling), with a line of cairns near the top. The summit cairn is dressed with old iron fence posts.
Easy to get wrong: The climb up Harter Fell looks intimidating but the engineered path avoids scrambling — take it steadily when tired; the footing is rocky and uneven. At the top, stay on the cairn (east) side of the fence.
Harter Fell (Mardale) → Kentmere Pike (1.8 km, 31 m)
Descent of about 55 m over 1.8 km.
Decision point: Stay on the cairn side of the fence and turn right (roughly south); the fence is your handrail along a gentle grassy ridge over a small knoll (The Knowe) to Kentmere Pike. The cairn is on your side of the wall; the trig point is just over a stone stile, reached by the built-in steps.
Easy to get wrong: Soft, soggy ground with peat hags in the wet — skirt the worst rather than leaving the fence.
Kentmere Pike → Shipman Knotts (1.8 km, 3 m)
Descent of about 150 m over 1.8 km.
Decision point: Continue SE alongside the wall / fence. Where the main fence bears left toward Goat Scar, cut the corner slightly to the LEFT-most of two ladder stiles (at the junction where the Goat Scar fence joins). Cross it, cut the corner again to stay on the well-used path by the wall, then follow the wall over undulating ground up to Shipman Knotts — most walkers use the cairned outcrop on the western (path) side.
Easy to get wrong: That left-hand ladder stile looks modest on your side, but the far drop is big and almost vertical — handle dogs carefully, many balk. Don't take the path trending right (west) toward Hollow Bank — it bypasses Shipman Knotts entirely.
Shipman Knotts → Finish (4.3 km, 0 m)
Descent of about 401 m over 4.3 km.
Decision point: Continue south by the wall; through a gap in a broken cross-wall keep left; cross another broken wall above Wray Crag and keep left. Squeeze between the wall and Wray Crag's drop, then descend (wet underfoot) to the Sadgill–Kentmere track and turn right (west) for Kentmere. Past the barn at Stile End, through a gate to the tarmac; turn left, and after ~150 m cross the stone stile on the right at the footpath sign into the bracken. Drop to Low Lane, cross straight over and down to the River Kent footbridge; across, climb the field to Rook Howe, keep left through the buildings, and follow the waymarked drive to the road by the church — turn right to the village hall.
Easy to get wrong: At Wray Crag a grooved sloping slab is an easy step in the dry but slippery when wet — take care. In the fields near the village, follow the waymarks; it's easy to lose the line among the stiles and enclosures.
Summits bagged (8)
- Yoke 707 m · Far Eastern · Wainwright, Birkett, Fellranger, Synge, Nuttall
- Ill Bell 757 m · Far Eastern · Wainwright, Birkett, Fellranger, Synge, Nuttall, HuMP
- Froswick 720 m · Far Eastern · Wainwright, Birkett, Fellranger, Synge, Nuttall
- Thornthwaite Crag 784 m · Far Eastern · Wainwright, Birkett, Fellranger, Synge, Nuttall
- Mardale Ill Bell 761 m · Far Eastern · Wainwright, Birkett, Fellranger, Synge
- Harter Fell (Mardale) 779 m · Far Eastern · Wainwright, Birkett, Fellranger, Synge, Nuttall, HuMP
- Kentmere Pike 730 m · Far Eastern · Wainwright, Birkett, Fellranger, Synge, Nuttall
- Shipman Knotts 587 m · Far Eastern · Wainwright, Birkett, Fellranger, Synge
🅿️ Getting there & parking
Positions are approximate. Lakeland car parks fill before 9am on fine weekends.
💧 No mapped drinking water or shelter on this route — that doesn’t mean there is none, and never drink untreated from a beck. (Facilities data © OpenStreetMap contributors.)
🚌 Buses
No regular bus serves the start — this is one for the car. Nearest hubs: Penrith (X4/X5 & 508), Ambleside and Windermere (555, 505, 516).
Rural routes change seasonally — confirm on stagecoachbus.com (opens in new tab) or Traveline before travelling.
⚠️ Safety & conditions
- The left-hand ladder stile between Kentmere Pike and Shipman Knotts has a big, almost-vertical drop on the far side — take care, and lift or handle dogs, which often refuse it.
- Wray Crag on the final descent has a grooved sloping slab: an easy step in the dry, slippery when wet.
- The initial drop off Ill Bell toward Froswick is steep and rough — you may need hands; it eases quickly.
- Keep clear of Ill Bell's craggy eastern edge above Kentmere Reservoir — stay on the broad ridge by the cairns.
- Parking at Kentmere (village hall / St Cuthbert's church) is very limited — only a handful of spaces — so arrive early.
Check live conditions in the “From the fells” panel, on MWIS (opens in new tab) and the Met Office mountain forecast (opens in new tab) before you set off.
Make it easier or harder
Easier: Escape options if the weather turns or the legs go: at the col between Froswick and Wansfell, drop left at Park Fell to Troutbeck Park, then via Long Green Head and Limefitt back onto the Garburn road to Kentmere (longer than retreating, but out of the wind). At Nan Bield Pass you can turn down into the Kentmere valley via Smallthwaite Knott, Hallow Bank Quarter and Overend; the (roofless) stone shelter on the pass gives some respite. The marked half-round descent from Nan Bield is the cleanest single bail.
Harder: Add High Street: instead of turning right onto the Mardale Ill Bell contour from Thornthwaite Crag, carry on to bag High Street (about +28 m and ~30 minutes), then return and pick up the contour to Mardale Ill Bell, turning left onto the clear path sooner rather than retracing the whole way.
Short version: turn back at about 9.9 km (drop to Kentmere village) — roughly half the distance.
📚 Maps & guidebooks for Kentmere Horseshoe
- Buy on Amazon (opens in new tab)
As an Amazon Associate we earn from qualifying purchases — at no extra cost to you. How affiliate links work →