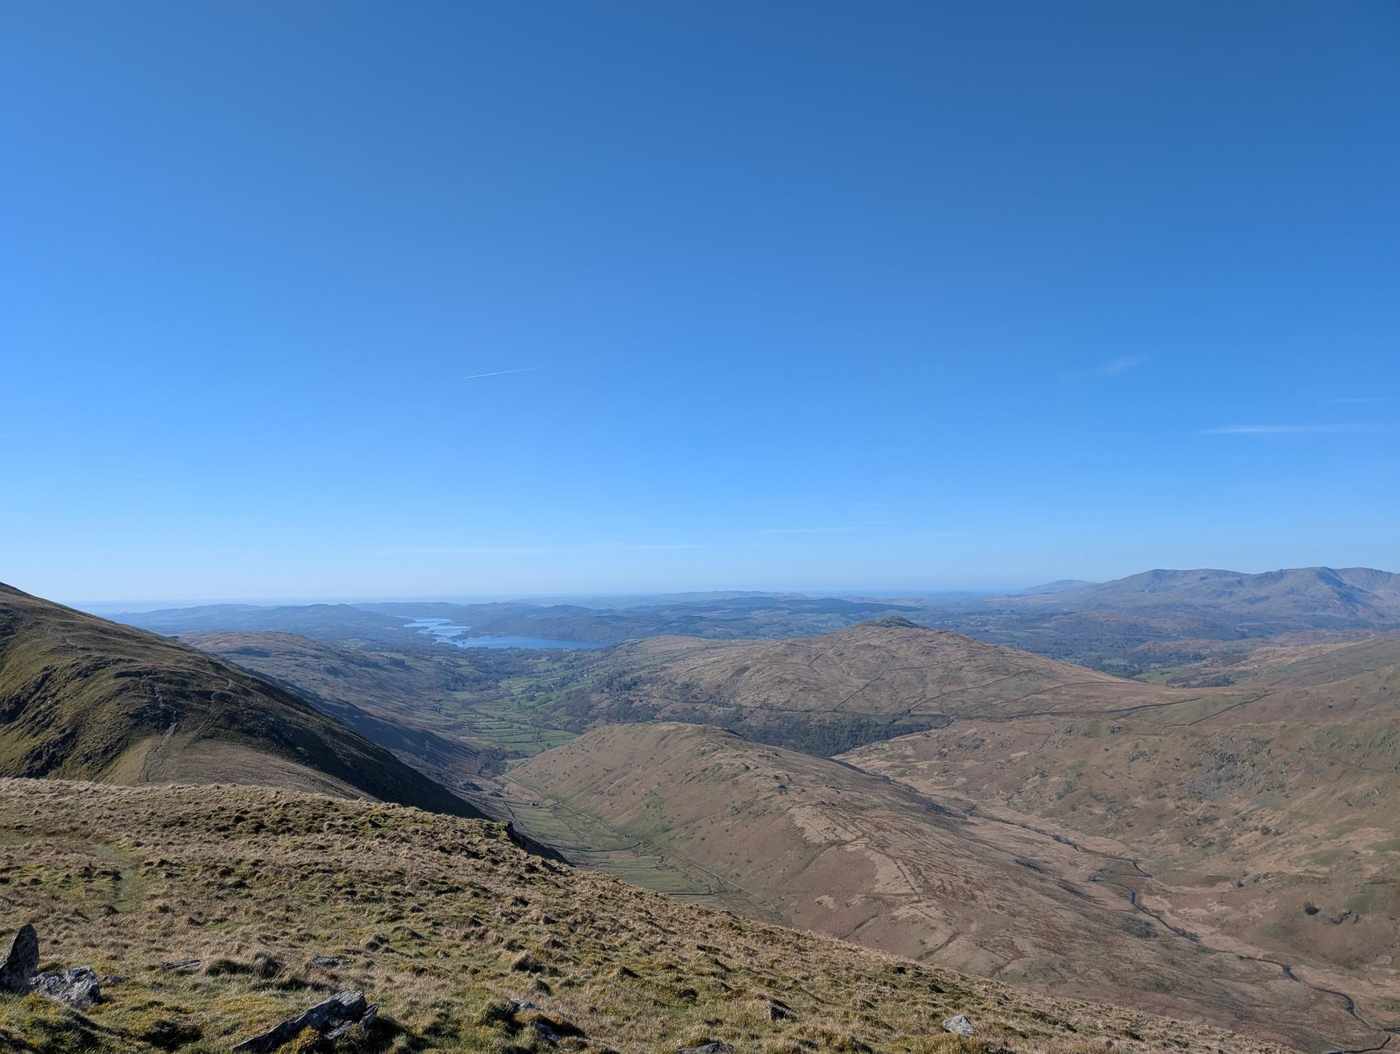
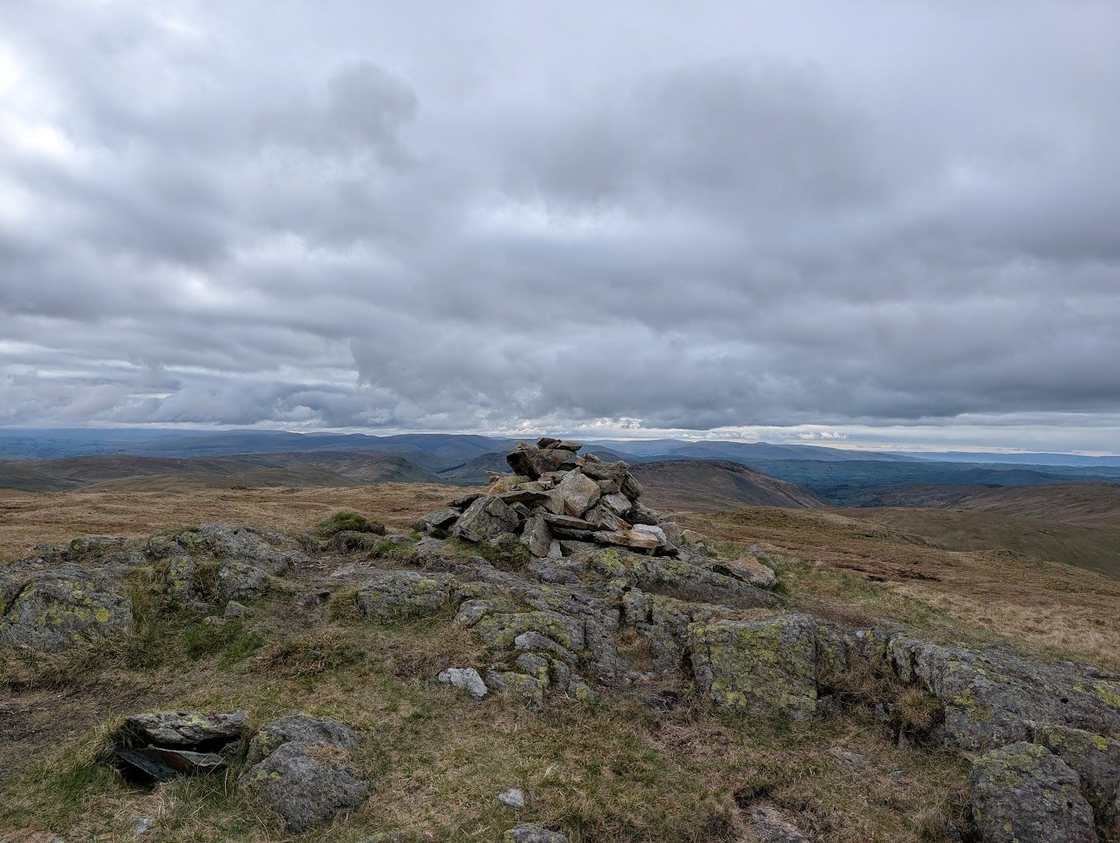
Nine lesser tops around the Kentmere valley — Cocklaw Fell, Hollow Moor and Green Quarter Fell among them — in 17.6 km with 754 m of climbing and nothing steeper than about 10%. Hard for length and navigation; about 4.8 hours.
✎️ Planned route — drawn but not personally walked or checked yet. A planned line is a suggestion, not a guarantee — conditions change. Navigate independently and carry a map & compass. How to use this guide.
Difficulty profile
LengthHard17.58 km — a long day out.
SteepnessHardSteepest sustained pull about 27% around the 6.7 km mark.
TerrainModerateMostly good mountain path. desk assessment — not field-verified
NavigationHardCare needed in cloud — ~16% featureless high ground. desk assessment — not field-verified
ExposureNot assessedExposure (drops, scrambling, how bad a slip would be) can’t be judged from gradient data alone, so we don’t guess. A rating appears once the route is editorially assessed or walked.
Five independent axes, not one score. “Desk” ratings come from maps and guidebooks, not yet walked — treat them as a guide, not a survey.
Conditions on this route
We score every Lakeland Wainwright each morning on cloud, wind, rain and underfoot, and this route crosses 3 of them. The worst summit governs the verdict — a route is only as kind as its roughest top.
Daylight is short from October to February — check today’s sunrise and sunset before you set off, and carry a head-torch and spare batteries. On short days, decide your turn-back time before you start.
This walk covers about 17.58 km with around 754 m of ascent, taking in 9 summits. The map above shows the line; the elevation profile and stage notes are below.
Access & barriers
Can a dog, a buggy or dodgy knees manage this route? A quick read from the gates and stiles mapped along the way.
Dog
Mostly gates
Buggy
Not buggy-able
Knees
Steep in places
Dog: A stile of unmapped type — a dog may need lifting over.
Buggy: Stiles or rough going on the route.
Knees: A sustained ~24% descent around the 14.0 km mark — a little jarring on tired knees.
Naismith-based estimate — a fast/steady range. Your pace will vary. These use Naismith’s textbook constants (5 km/h, 600 m of ascent an hour). Measured against a pace fitted to 41 recorded Lakeland walks they run about 8% slow, and we have left them that way deliberately: a slow estimate strands nobody.
The walk, stage by stage
1
Start → Cocklaw Fell (2.5 km, 162 m)
Climb of about 162 m over 2.5 km (around 6% average).
From the valley floor, head south up the enclosed, walled lanes. Once through the fell gate, break out onto the open hillside and begin a steady, trackless ascent over rough, tussocky ground, trending south up the broad spur to the minor, indistinct rise of Cocklaw Fell
Waypoints
Valley floor (start), walled lane, Cocklaw Fell
Decision point
The walled lane acts as a perfect funnel to get you onto the correct spur. Once on the open fell, simply maintain a southward climb, using the rising gradient to guide you to the highest ground on the immediate spur
Easy to get wrong
The lower walled lanes are frequently churned into deep mud by farm traffic and water runoff. Once on the open fell, it is a relentless trudge through thick, energy-sapping grass and hidden, waterlogged depressions; there are no clear paths here, requiring you to force your own line through the vegetation
If you need to get off
Simply turn 180 degrees and retrace your steps down the grassy spur to the fell gate and the walled lane, which provides a fast, sheltered return to Kentmere
2
Cocklaw Fell → Hollow Moor East Top (1.2 km, 47 m)
About 1.2 km with 47 m of ascent.
Traverse west across the vast, sodden expanse of the Green Quarter Fell plateau. The route rolls gently through a maze of peat hags and marshy hollows before a barely noticeable incline brings you to the grassy swelling of Hollow Moor East Top
Waypoints
Cocklaw Fell, Green Quarter Fell (plateau), Hollow Moor East Top
Decision point
This is featureless terrain; you must rely strictly on a compass bearing in low visibility. Keep the deeper trench of Skeggles Water's catchment away to one side to avoid dropping off the plateau prematurely
Easy to get wrong
This plateau is a notorious sponge. The ground is heavily waterlogged year-round, requiring exhausting zig-zags and wide detours to bypass deep sphagnum bogs and hidden drainage channels. The lack of any distinct gradient makes it incredibly fatiguing on the legs
If you need to get off
If the bogs become too much, retreat west back to Cocklaw Fell and descend to Kentmere, or take a bearing south to intersect the established track near Skeggles Water
3
Hollow Moor East Top → Hollow Moor (Green Quarter Fell) (0.5 km, 17 m)
Undulating section of about 0.5 km.
Make a short, soggy hop west/north-west across the plateau, navigating the final stretch of peat and reeds to move from the East Top to the slightly higher, equally indistinct main summit of Hollow Moor
Waypoints
Hollow Moor East Top, Hollow Moor summit (426m)
Decision point
Micro-navigation is key if the clouds drop, as the tops here are merely slight convexities in a flat, green ocean. Use pacing to ensure you do not overshoot the summit and begin descending towards the valley
Easy to get wrong
The terrain remains frustratingly lumpy and wet. The true summit is marked only by a pathetic collection of stones and offers little reward other than ticking off the Birkett; in thick clag, you will struggle to confirm you are actually on the highest point
If you need to get off
Turn west and drop down the steepening, grassy flanks directly towards the Kentmere valley, keeping the steep drops of the River Kent gorge well to your north
4
Hollow Moor (Green Quarter Fell) → Shipman Knotts (3.6 km, 287 m)
Climb of about 287 m over 3.6 km (around 8% average).
Leave the Green Quarter bogs and head north, crossing the old, stony Sadgill to Kentmere packhorse route before tackling the steep, rugged climb up the southern nose of Shipman Knotts. The path weaves through rocky outcrops and steep grass to finally gain the main eastern ridge of the Kentmere Horseshoe
The east-west packhorse track is a major catching feature crossing your path. Once you begin climbing Shipman Knotts, a dilapidated drystone wall appears; use it as a bulletproof handrail leading directly up the spine of the fell to the summit
Easy to get wrong
The crossing of the old track offers a brief respite on hard ground before a strenuous, calf-burning pull. The upper slopes of Shipman Knotts feature blocky volcanic rock which can be slick, and the wind immediately bites with full force once you crest the exposed ridge line
If you need to get off
From the base of Shipman Knotts, simply turn left (west) onto the wide, established packhorse track for a fast, foolproof, and easy return to the Kentmere valley floor
5
Shipman Knotts → Goat Scar (0.8 km, 35 m)
Undulating section of about 0.8 km.
From Shipman Knotts, follow the wall north, staying with the ridge as it continues north to the rough, rocky protrusion of Goat Scar, which juts out precipitously over the Longsleddale valley
Keep to the ridge and aim north toward the obvious rocky bluff. The sheer, terrifying drop into Longsleddale acts as a hard, unmistakable boundary to your right (east)
Easy to get wrong
Goat Scar requires a deliberate, pathless detour from the main horseshoe. The ground here is shattered and craggy, demanding careful foot placement, and the eastern drop into Longsleddale is a sheer, dangerous cliff face that must be respected, especially in high winds
If you need to get off
Retreat west to the safety of the main ridge wall and retrace your steps south over Shipman Knotts. Under absolutely no circumstances should you attempt to descend the crags of Goat Scar directly into Longsleddale
6
Goat Scar → Kentmere Pike (1.2 km, 118 m)
Climb of about 118 m over 1.2 km (around 10% average).
Rejoin the main ridge line and follow the drystone wall northwards. The gradient steepens into a persistent, draggy climb over grassy and stony ground, leading up to the summit trig point of Kentmere Pike, which sits just on the western side of the boundary wall
Waypoints
Ridge boundary wall, Kentmere Pike summit trig point (730m)
Decision point
The drystone wall and fence line combination is an infallible handrail all the way to the summit. You will need to cross the wall via a prominent wooden stile to physically reach the white trig pillar
Easy to get wrong
This is a monotonous but physically taxing pull. The path hugging the wall is heavily eroded and frequently turns into a muddy, water-filled trench. In winter, massive snowdrifts bank up against this wall, occasionally burying it completely and making the traverse exhausting and treacherous
If you need to get off
Turn south and follow the wall back down over Shipman Knotts to the packhorse track bailout. Dropping west directly off Kentmere Pike into the valley involves dangerously steep, pathless, and craggy terrain
7
Kentmere Pike → Harter Fell (Mardale) (1.8 km, 84 m)
Climb of about 84 m over 1.8 km (around 5% average).
Continue along the high, rolling ridge, following the fence line as it dips into a broad, grassy saddle before making the final, rocky ascent up to the sprawling, cairn-studded summit plateau of Harter Fell
Waypoints
Connecting saddle, Harter Fell summit (778m)
Decision point
Cling to the fence line across the saddle. Once it terminates near the summit rocks, you must use a compass or rely on the prominent stone cairns and remnants of iron fence posts to navigate safely across the plateau
Easy to get wrong
This is high, serious mountain terrain, fully exposed to extreme weather. The summit of Harter Fell is a confusing jumble of stones, scattered cairns, and old iron-work; it is a notorious black spot for navigation in thick mist, as the plateau is vast and featureless away from the craggy edges
If you need to get off
Escaping laterally from this high ridge is highly dangerous due to the crags on both sides. You must either reverse back to Kentmere Pike or push forward to utilize the established descent path down to Nan Bield Pass
8
Harter Fell (Mardale) → Little Harter Fell (1.2 km, 0 m)
Descent of about 110 m over 1.2 km.
Descend from the summit of Harter Fell heading north-east at first, then swing east-south-east over rough, stony ground to reach the minor prominence of Little Harter Fell
Waypoints
Harter Fell eastern descent, Little Harter Fell (approx 670m)
Decision point
Nan Bield Pass lies behind you to the west and is not on this leg; if you find yourself descending towards it you have left the summit on the wrong side. Little Harter Fell sits right on the edge of the plateau, above the steep eastern drops
Easy to get wrong
The initial descent off Harter Fell is steeply stepped and rocky, requiring significant care to avoid a slip on the loose stones, especially when wet. The diversion to Little Harter Fell takes you off the main, engineered path onto pathless, lumpy terrain that hides ankle-twisting holes
If you need to get off
Drop immediately north into the saddle of Nan Bield Pass, where a well-built stone wind-shelter exists, and take the clear, heavily engineered zig-zag path straight down into the Kentmere valley
9
Little Harter Fell → Adam Seat (0.4 km, 0 m)
Undulating section of about 0.4 km.
From Little Harter Fell, skirt the rim of the upper valley, traversing a short, spongy section of moorland heading south-east to reach the subtle, grassy dome of Adam Seat, situated just before the main Gatescarth Pass track
Waypoints
Kentmere valley upper rim, Adam Seat summit (666m)
Decision point
Aim for the distinct, massive scar of the Gatescarth Pass track visible on the hillside ahead. Adam Seat is the last high ground you must cross before you intersect this pass
Easy to get wrong
The ground here transitions quickly back to boggy and indistinct, contrasting sharply with the rocky tops of Harter Fell. In bad weather, it is very easy to drift too far south and end up bluffed out above dangerously steep, craggy ground overlooking the Kentmere Reservoir
If you need to get off
Head directly west to hit the Gatescarth Pass track, which acts as a massive, unavoidable linear catching feature leading straight to the valley floor
Adam Seat → Finish (4.4 km, 3 m)
Descent of about 454 m over 4.4 km.
Drop east from Adam Seat to intersect the wide, heavily eroded track of Gatescarth Pass. Turn south and begin the long, bone-jarring descent along the valley floor, following the River Kent past the reservoir and through the pastoral fields all the way back to the village
Waypoints
Gatescarth Pass track, Kentmere Reservoir (vicinity), River Kent, Kentmere village (finish)
Decision point
The Gatescarth track is unmistakable and heavily contained by the steep valley walls and the river. Once you are on it, navigation is entirely finished for the day
Easy to get wrong
Gatescarth Pass is an old byway covered in loose, fist-sized rubble that acts like ball-bearings underfoot; it is exceptionally harsh on the feet and knees at the end of a long day. The 4.4 km walk-out feels endless, though the gradient mercifully eases once you pass the reservoir and hit the tarmac lanes
If you need to get off
You are on the optimal, unavoidable escape route. Stick strictly to the main track and do not attempt to shortcut across the river or the marshy valley floor, which is full of deep bogs and private land
Positions are approximate. Lakeland car parks fill before 9am on fine weekends.
Vehicles are left entirely at their owner’s risk. We list places people park; we cannot vouch for any of them. Judge it on the day: take valuables with you, leave nothing on show, and if a spot feels wrong when you get there, park somewhere else.
The nearest bus stop we hold is the 555 at Staveley, outside Abbey Square, 8.5 km of walking from this start — not realistically reachable without a car.
Not sunrise — the moment the sun clears the skyline from that summit, which on a fell with high ground to its east can be a good deal later. The two equinoxes are shown because they fall in the walking season, and late December too wherever a top keeps you waiting then; the clock gap between the equinoxes is British Summer Time, not the hill. Rounded to the nearest quarter hour and meant as a general idea, not a schedule.
Shipman Knotts — in late March the sun reaches it around 06:15, with the sunrise. In late September, about 07:00. It waits longest in midsummer — about a quarter of an hour after sunrise.
Kentmere Pike — in late March the sun reaches it around 06:15, with the sunrise. In late September, about 07:00.
Harter Fell (Mardale) — in late March the sun reaches it around 06:15, with the sunrise. In late September, about 07:00.
Modelled from a 30 m elevation model against each summit’s own skyline — the same figures the fell pages carry, never observed. Cloud is not in it.
This is the only property inside the radius whose cached page is actually about itself, and it is emphatically not a bed for a family - it is the roof a Harrop Pike walker should know about before committing to a 20.03 km day whose middle third is a bearing across the Bannisdale watershed. It sits on the Mosedale/Swindale side of that watershed rather than on the Longsleddale road, so it is a bail-out and a shelter, not a base: 3.95 km straight-line from Sadgill, which is a number for a map and not a walk-in - the ground between is over the tops and unmeasured by us. What its page does give is usable: a grid reference to put on the map (NY 495 095 on LR90), a stove with the explicit warning that no fuel is available locally, and the MBA's standing party-size restriction with no number attached, which is the one thing a group of four or more should resolve before relying on it. Ranked 1 only because it is the sole row here with evidence; on family usefulness it ranks nowhere.
Its whole facilities list is two lines that contradict each other for anyone planning a night: there is a working stove, and no fuel anywhere near it. Warmth here is something you carry in on your back along with the sleeping bag.
What each place says about itself, quoted from their own site. We have not stayed at any of them, and there are no prices, no booking and no affiliate links. Distances are straight lines from the route start, never walking times. Properties found via OpenStreetMap (opens in new tab).