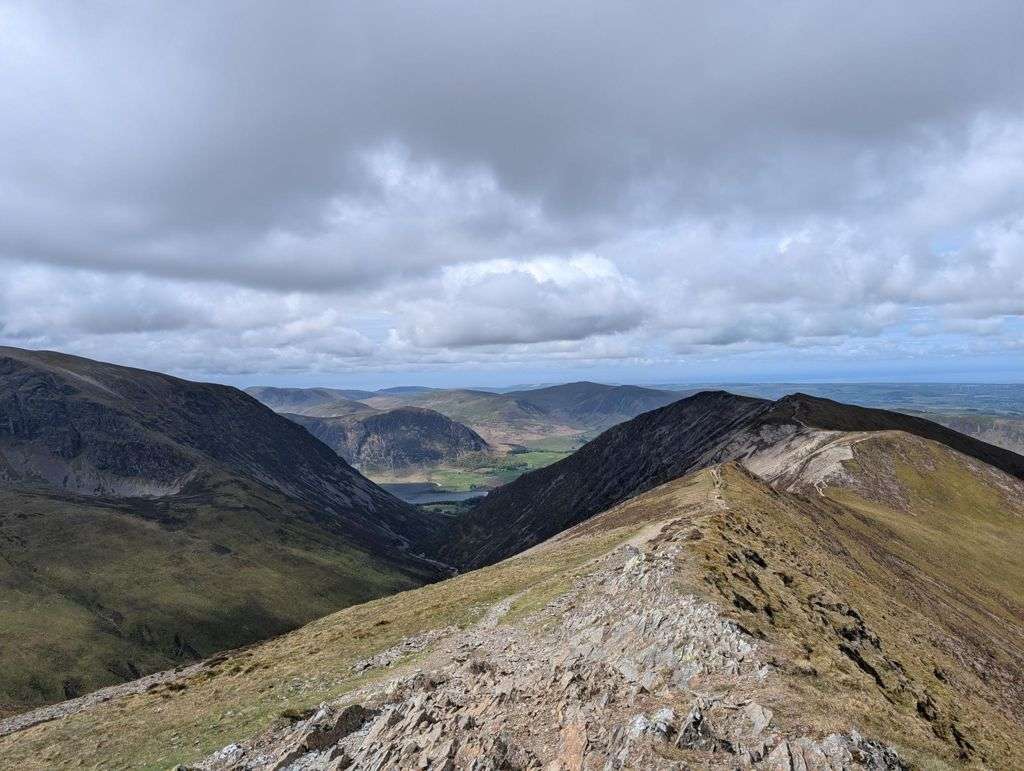
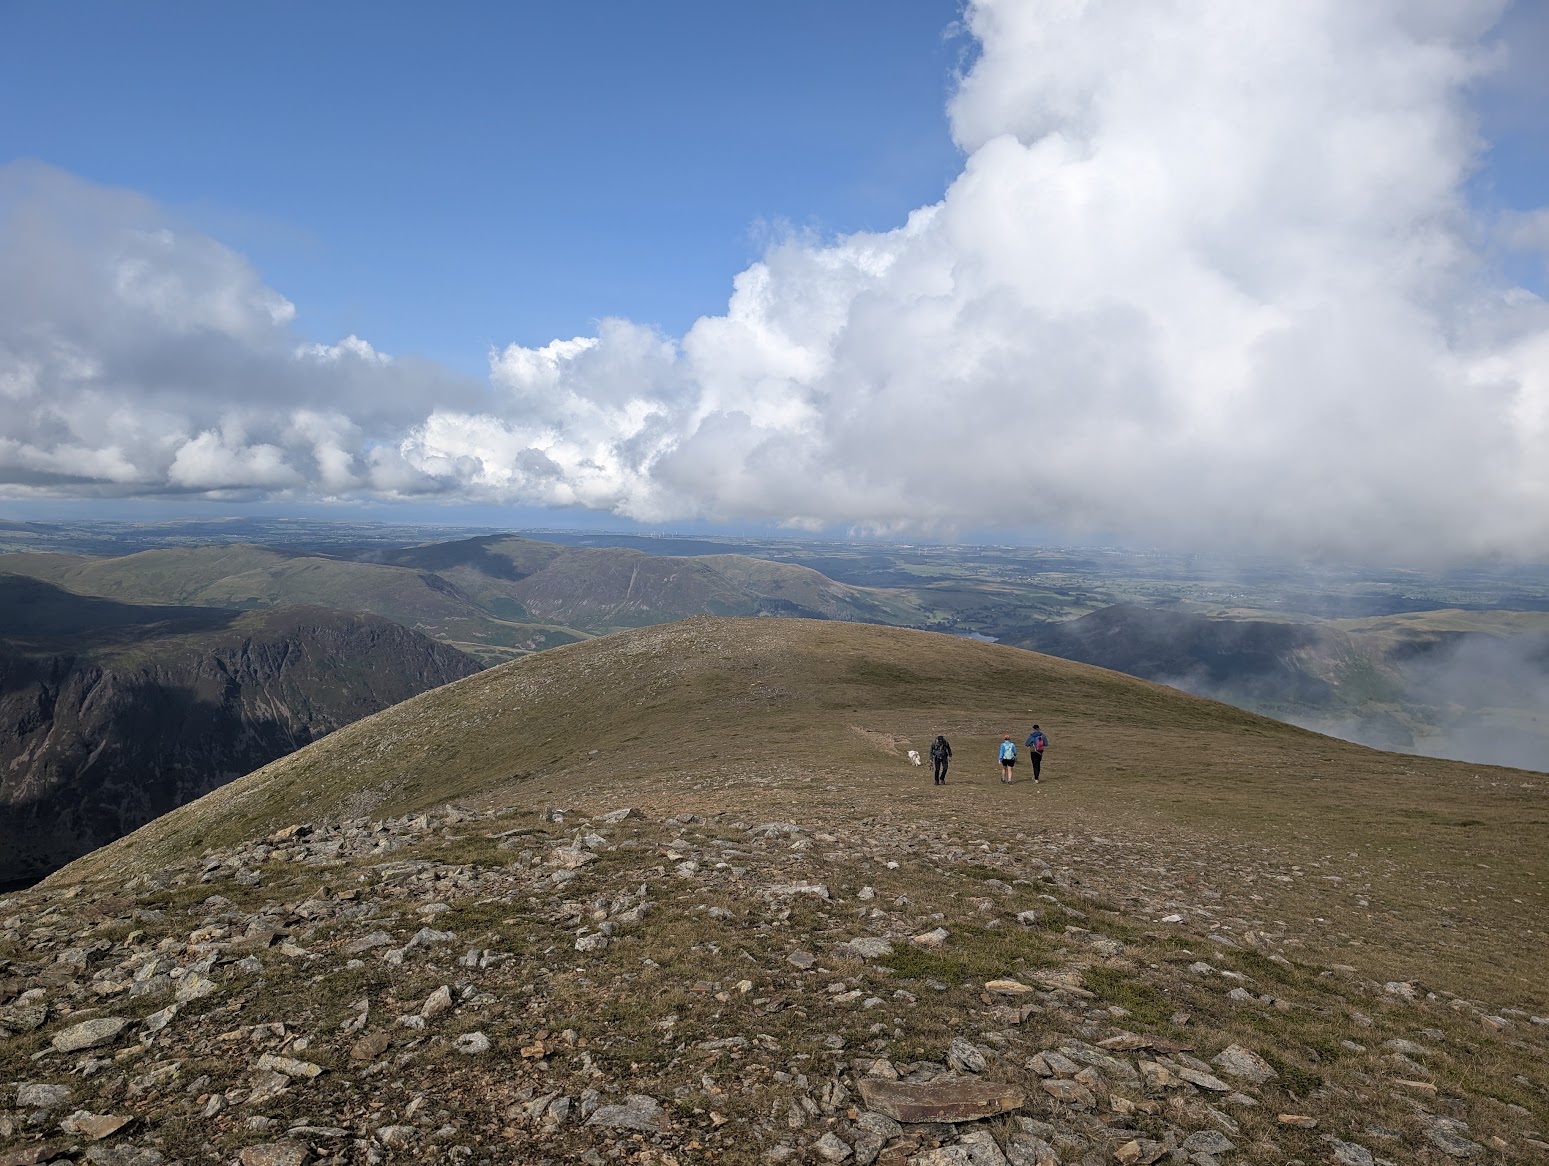
A big north-western day — seven tops from High Snockrigg over Whiteless Pike to Crag Hill, 15.7 km and 1,399 m, with one stage averaging 22%. About 5.5 hours.
✎️ Planned route — drawn but not personally walked or checked yet. A planned line is a suggestion, not a guarantee — conditions change. Navigate independently and carry a map & compass. How to use this guide.
Difficulty profile
LengthHard15.69 km — a long day out.
SteepnessSevereSteepest sustained pull about 47% around the 10.5 km mark.
TerrainModerateMostly good mountain path. desk assessment — not field-verified
NavigationModerateClear line, hard to stray. desk assessment — not field-verified
ExposureNot assessedExposure (drops, scrambling, how bad a slip would be) can’t be judged from gradient data alone, so we don’t guess. A rating appears once the route is editorially assessed or walked.
Five independent axes, not one score. “Desk” ratings come from maps and guidebooks, not yet walked — treat them as a guide, not a survey.
Conditions on this route
We score every Lakeland Wainwright each morning on cloud, wind, rain and underfoot, and this route crosses 3 of them. The worst summit governs the verdict — a route is only as kind as its roughest top.
By bus: the Honister Rambler (77/77A) (opens in new tab) reaches Buttermere Court Hotel at 09:11 and the last one back leaves at 18:20. At a steady pace this walk finishes about 16:27. Be off Lad Hows by 16:08. Runs daily, including public holidays. From the summer 2026 timetable, read on 21 Aug 2026. Check the timetable before you rely on it.
Daylight is short from October to February — check today’s sunrise and sunset before you set off, and carry a head-torch and spare batteries. On short days, decide your turn-back time before you start.
This walk covers about 15.69 km with around 1399 m of ascent, taking in 7 summits. The map above shows the line; the elevation profile and stage notes are below.
Access & barriers
Can a dog, a buggy or dodgy knees manage this route? A quick read from the gates and stiles mapped along the way.
Dog
Mostly gates
Buggy
Not buggy-able
Knees
Tough descent
Dog: A stile of unmapped type — a dog may need lifting over.
Buggy: Stiles or rough going on the route.
Knees: A long, steep ~47% drop around the 10.4 km mark — hard on the knees.
Naismith-based estimate — a fast/steady range. Your pace will vary. These use Naismith’s textbook constants (5 km/h, 600 m of ascent an hour). Measured against a pace fitted to 41 recorded Lakeland walks they run about 8% slow, and we have left them that way deliberately: a slow estimate strands nobody.
The walk, stage by stage
1
Start → High Snockrigg (1.8 km, 395 m)
Climb of about 395 m over 1.8 km (around 22% average).
Leave the valley and immediately tackle the punishingly steep, relentless pull up the fellside, weaving through dense lower vegetation before breaching the open, grassy slopes. The faint, zigzagging trod fights directly against the contours, requiring a massive cardiovascular effort to finally crest the minor, unheralded grassy summit of High Snockrigg
Waypoints
Valley floor, steep lower grassy spurs, High Snockrigg summit (526m)
Decision point
There is no distinct, heavily engineered path here. You must pick the line of least resistance straight up the nose of the fell, using the rapidly expanding view of the Buttermere valley behind you to confirm your aggressive upward trajectory
Easy to get wrong
This is a brutal, lung-busting initiation to the route with a punishing 22% average gradient. In the summer months, the lower slopes are often choked with deep bracken, hiding uneven ground and ticks, while the steep grass above becomes incredibly slick and hazardous after heavy rain
If you need to get off
Due to the severe gradient, a slip on the descent can be dangerous if the grass is wet. If you are struggling within the first kilometre, the safest option is to carefully zigzag back down your ascent route to the valley floor before you gain too much exposed elevation
2
High Snockrigg → Whiteless Pike (3.0 km, 429 m)
Climb of about 429 m over 3.0 km (around 14% average).
Drop slightly from High Snockrigg into a wide, marshy depression before picking up the main arterial path that climbs the spectacular, sharp ridge of Whiteless Pike. Ascend the increasingly steep, heavily eroded spine, navigating loose rock and scree steps to arrive at the prominent, pointed summit cone
The ridge up Whiteless Pike is a classic, unmistakable arête. Once you cross the boggy saddle, the deeply worn, pale path acts as a continuous, fail-safe handrail leading directly up the spine to the summit
Easy to get wrong
The depression known as Buttermere Moss is notoriously boggy and can swallow a boot entirely if you lose the main trod. The subsequent climb up Whiteless Pike is steep and heavily eroded; the loose shale and scree make foot placements precarious, especially in high winds that whip across the exposed ridge
If you need to get off
If the winds on the exposed ridge of Whiteless Pike become too severe, retreat to the saddle of Buttermere Moss and carefully pick a route westwards down the gentler, grassy slopes toward the Newlands Hause road, completely bypassing the high ridge
3
Whiteless Pike → Thirdgill Head Man (0.8 km, 94 m)
Climb of about 94 m over 0.8 km (around 12% average).
Leave the pointed summit of Whiteless Pike and head north-east along the magnificent, airy crest of Whiteless Edge. The path rises steadily along this dramatic escarpment, offering a spectacular but highly exposed high-level traverse to the minor prominence of Thirdgill Head Man
Waypoints
Whiteless Pike summit, Whiteless Edge, Thirdgill Head Man (734m)
Decision point
The route is visually spectacular and impossible to lose in clear weather. In thick clag, ensure you keep the sheer, plunging drops strictly to your right (east), maintaining a safe buffer zone from the edge
Easy to get wrong
The walking here is sublime, but the eastern edge of the ridge drops away violently into the depths of Sail Beck. In winter, massive, unstable cornices build over this sheer drop, presenting a fatal hazard to anyone walking too close to the rim
If you need to get off
Do not attempt to bail east into the Sail Beck ravine under any circumstances. If the weather breaks, you must retrace your steps south-west down Whiteless Pike, or push forward to the wider plateau of Wandope to find a safer descent route
4
Thirdgill Head Man → Crag Hill (Eel Crag) (1.3 km, 118 m)
Climb of about 118 m over 1.3 km (around 9% average).
Continue north from Thirdgill Head Man, crossing the broad, high-altitude grassy saddle that links the ridges. Begin the final, rocky pull up the south-western flank of Crag Hill, leaving the grass behind for a stony, fractured summit plateau crowned by an OS trig pillar
Waypoints
Thirdgill Head Man, Wandope saddle, Crag Hill (Eel Crag) summit trig point (839m)
Decision point
The path across the saddle is well-defined, leading directly to the rocky ascent. In poor visibility, the concrete trig pillar on Crag Hill is your definitive geographical anchor on the plateau
Easy to get wrong
The transition from grass to rock on the final pull up Crag Hill can be slippery in the wet. The sprawling summit plateau is notoriously confusing in a whiteout; it is flat, featureless, and littered with stones, making it incredibly easy to walk off in the wrong direction once you leave the trig point
If you need to get off
From the Wandope saddle, you can bail westwards, dropping down the steep but manageable grassy slopes into the Sail Beck valley. Once on the summit of Crag Hill, you are at the highest point of the route and must navigate off the plateau to lower ground
5
Crag Hill (Eel Crag) → Eel Crag (Birkett) (0.4 km, 3 m)
Undulating section of about 0.4 km.
From the trig point on Crag Hill, take a short, careful traverse north across the stony plateau to reach the dramatic, plunging northern rim, identifying the minor rocky prominence recognized as the true Eel Crag Birkett
Waypoints
Crag Hill trig point, northern plateau edge, Eel Crag (Birkett) (804m)
Decision point
In clear weather, head towards the obvious sheer drop to the north. In thick mist, rely entirely on a compass bearing from the trig point, stopping immediately when the ground begins to visibly steepen or drop away
Easy to get wrong
This section is completely exposed to northerly winds roaring up from Coledale. The edge of Eel Crag is a severe, vertical drop; the rock here is fractured and loose, demanding absolute caution when approaching the rim to look down
If you need to get off
If the wind is dangerously high, completely ignore this short out-and-back spur to the Birkett. Stay well back from the northern crags and head straight towards the main descent path leading to Coledale Hause
6
Eel Crag (Birkett) → Grasmoor (2.6 km, 195 m)
Climb of about 195 m over 2.6 km (around 8% average).
Retreat from the crag edge and descend the rough, loose path westwards down to the busy, flat crossroads of Coledale Hause. From the hause, turn west and begin the long, steady, and expansive grassy drag up the massive, dome-like bulk of Grasmoor, following faint cairns to the summit shelter
The deep, flat marsh of Coledale Hause acts as an unavoidable geographical funnel. On Grasmoor's plateau, do not rely on following sporadic cairns in the mist; a precise compass bearing is absolutely mandatory to locate the summit shelter and avoid wandering off the precipitous western crags
Easy to get wrong
The descent to Coledale Hause is steep and shifting underfoot. The ascent of Grasmoor is a physically demanding slog up a massive grassy dome; the summit plateau is so vast and featureless that it is widely considered one of the most dangerous places in the Lake District to be caught in thick fog without a compass
If you need to get off
Coledale Hause is a major, fail-safe bail point. Turn right (north) to descend safely into Coledale, or left (south) to drop into the Liza Beck valley. If you are on Grasmoor and become disoriented, reverse your bearing exactly to return to Coledale Hause
7
Grasmoor → Lad Hows (1.6 km, 0 m)
Descent of about 442 m over 1.6 km.
Carefully navigate south off the vast summit of Grasmoor, identifying the top of the Lad Hows ridge. Commit to the brutally steep, quad-destroying descent directly down the crest of the spur, dropping rapidly on a heavily eroded path that plunges toward the valley floor
Waypoints
Grasmoor southern rim, Lad Hows ridge crest, Lad Hows minor top
Decision point
Finding the exact start of the Lad Hows descent off Grasmoor in thick clag requires a careful bearing from the summit shelter. Once on the ridge, the crest itself is narrow enough to act as a natural handrail guiding you down
Easy to get wrong
This is a punishingly steep, relentless descent—dropping 442 meters in just 1.6 kilometers (a nearly 28% downward gradient). The path is heavily eroded, covered in loose stones, and incredibly jarring on exhausted knees. A slip here will result in a painful, sliding fall
If you need to get off
Once you commit to descending Lad Hows, you must see it through. The flanks on either side of this spur drop away fiercely into deep, impassable ravines. Take it painfully slow, use walking poles to save your knees, and do not attempt to cut corners off the sides of the ridge
Lad Hows → Finish (4.1 km, 164 m)
Climb of about 164 m over 4.1 km (around 4% average).
Finish the steep drop off the nose of Lad Hows, entering the thick bracken of the lower slopes before hitting the valley floor near Cinderdale Common. Turn south-east and follow the undulating, often boggy paths that contour just above the valley road, eventually leading back to the starting point
Waypoints
Lad Hows lower slopes, Cinderdale Common, Crummock Water valley paths, finish point
Decision point
The sprawling expanse of Crummock Water and the dark ribbon of the valley road below provide absolute, fail-safe visual handrails. Simply keep the road and the lake to your right (west) as you contour back along the base of the fells
Easy to get wrong
The final drop off Lad Hows is often choked with towering summer bracken, obscuring the path and creating a frustrating, hidden trip hazard for tired legs. The valley paths that contour back to the start cross several becks and can be a muddy, energy-sapping trudge after a long day on the high fells
If you need to get off
As this is the final valley stage, safety is assured. If the contouring fellside paths are too boggy or exhausting, drop the short distance directly down to the tarmac of the valley road and walk the flat, solid surface back to your start point
In the order you walk them — the same numbers the elevation profile, the stage notes and the pacing table use.
🅿️ Getting there & parking
⛽ Nearest fuel to this start: Oakhurst, Cockermouth, 17.0 km by road (24h daily). Nearest shop: Lorton Village Shop, 10.1 km. Both measured along the road from the parking we publish at Buttermere village, checked 8 August 2026. Coming in from a particular direction you may pass a closer one — the last petrol before each valley →
High Snockrigg (verge) — 0.1 km from the start (straight line)
Buttermere (free) — 0.2 km from the start (straight line)
Walking base for Red Pike (Buttermere), High Stile, High Stile (Grey Crag - High Stile) and High Crag (Buttermere) — the 'High Stile, Seat via Buttermere' route starts 5 m away. Also serves 'Great Bourne & Starling Dodd'. Unpaved surface (OSM-tagged).
High Snockrigg (layby) — 0.3 km from the start (straight line)
Walking base for High Snockrigg, Whiteless Pike, Thirdgill Head Man and Crag Hill (Eel Crag) — the 'High Snockrigg, Eel Crag & Lad Hows' route starts 250 m away. Also serves 'Great Bourne & Starling Dodd'. Free (OSM-tagged). Compacted surface (OSM-tagged).
Buttermere village LDNP car park (east) (paid) — 0.4 km from the start (straight line)
The 'Buttermere lake circuit' route starts 49 m away. Also serves 'Crummock Water shore circuit'. Unpaved surface (OSM-tagged). Toilets on site. Fees: pay and display; coins and cards; RingGo ID 37311 (LDNPA, checked Aug 2026).
High Snockrigg, north-west (layby) — 0.4 km from the start (straight line)
Walking base for High Snockrigg, Whiteless Pike, Thirdgill Head Man and Crag Hill (Eel Crag) — the 'High Snockrigg, Eel Crag & Lad Hows' route starts 391 m away. Free (OSM-tagged). Compacted surface (OSM-tagged).
Positions are approximate. Lakeland car parks fill before 9am on fine weekends.
Vehicles are left entirely at their owner’s risk. We list places people park; we cannot vouch for any of them. Judge it on the day: take valuables with you, leave nothing on show, and if a spot feels wrong when you get there, park somewhere else.
The 77 stops at Buttermere Youth Hostel (near), 250 m from this start.Seasonal: the 77 does not run all year. 1 November 2026 is its last day, and it is not daily before then — a bus on 31 of the 56 days from 7 September. We don’t know when it returns. Confirmed with the operator, 29 August 2026. The last bus is 18:21 towards Keswick (77), every day. Checked against the operator’s timetable, 7 September 2026. Times here are a guide, not a promise — leave yourself more than the minute.
The 77 passes this route at 0.1 km (Buttermere Youth Hostel (near), 200 m off the line). It passes again at 12.3 km.
If the first one is full, these do not all fill together. The 3 below sit in different places or are different kinds of parking, so a busy morning at one does not mean a busy morning at all of them.
Car park for High Snockrigg (free)
Lad Hows (verge)
High Snockrigg (layby)
Worked out from the parking we hold within walking reach of this route and the other walks each place serves — two places that serve the same walks fill for the same reasons. We are not saying whether anywhere has spaces today, and we never will: this is what exists, not what is free.
When the sun reaches the tops
Not sunrise — the moment the sun clears the skyline from that summit, which on a fell with high ground to its east can be a good deal later. The two equinoxes are shown because they fall in the walking season, and late December too wherever a top keeps you waiting then; the clock gap between the equinoxes is British Summer Time, not the hill. Rounded to the nearest quarter hour and meant as a general idea, not a schedule.
Whiteless Pike — in late March the sun reaches it around 06:15, with the sunrise. In late September, about 07:00. It waits longest in midsummer — about half an hour after sunrise. In late December, not until about 08:45.
Crag Hill (Eel Crag) — in late March the sun reaches it around 06:15, with the sunrise. In late September, about 07:00.
Grasmoor — in late March the sun reaches it around 06:15, with the sunrise. In late September, about 07:00.
Modelled from a 30 m elevation model against each summit’s own skyline — the same figures the fell pages carry, never observed. Cloud is not in it.
It is 20 m from where all five Buttermere routes begin and it is the only hotel in the valley that says it takes dogs, in a cluster where three of the other four beds state a pet restriction. It also states its own size - "21 EN-SUITE BEDROOMS AND 6 SELF-CATERING APARTMENTS" - and its own food and ales, so a party coming off Red Pike at six can eat and sleep without moving the car. Set against that: only its home page is in the cache and that page answers nothing about parking, drying, children or family rooms, and it publishes no email and no phone at all, so this is a place you book online or ring on OSM's number, not one you email.
The bedrooms are deliberately unwired - no television, no radio, and no mobile signal to lose.
Dogs“A true dog-friendly hotel in the Lake District”
Evening meal“Exceptionally friendly and professional service, homemade food, carefully selected local real ales with our staff who naturally go the extra mile to ensure your needs meet your expectations.”
Worth knowing before you book
These places state on their own site that they do not take children.
YHA Ennerdale (opens in new tab)“Guests under the age of 16 must be accompanied by an adult aged 18 years or over to stay at YHA.”
What each place says about itself, quoted from their own site. We have not stayed at any of them, and there are no prices, no booking and no affiliate links. Distances are straight lines from the route start, never walking times. Properties found via OpenStreetMap (opens in new tab).