
Long Hike to Fairfield from Ambleside
Photo: © Lee McCoy
Key facts
Difficulty profile
Five independent axes, not one score — all field-checked on the ground here, with nothing left as a desk estimate.
Conditions on this route
We score every Lakeland Wainwright each morning on cloud, wind, rain and underfoot, and this route crosses 7 of them. The worst summit governs the verdict — a route is only as kind as its roughest top.
Modelled guidance — not a substitute for the mountain forecast or your own judgement. See how every fell ranks today →
Daylight & turnaround
Daylight is short from October to February — check today’s sunrise and sunset before you set off, and carry a head-torch and spare batteries. On short days, decide your turn-back time before you start.
Why this matters: 78% of Mountain Rescue call-outs come after midday — the day runs out on the way home, not on the way up. See also walking in bad weather and today’s conditions.
1 Red Screes2 Dove Crag3 Hart Crag4 Fairfield5 Great Rigg6 Heron Pike North Top (Rydal Fell)7 Heron Pike (Rydal)8 Nab Scar
Easy 64%Moderate 31%Hard 5%Severe
Free mapping: OpenTopoMap / OpenStreetMap (switch layers top-right).
This walk covers about 22.39 km with around 1350 m of ascent, taking in 8 summits. The map above shows the line; the elevation profile and stage notes are below.
Access & barriers
Can a dog, a buggy or dodgy knees manage this route? A quick read from the gates and stiles mapped along the way.
- Dog: 2 ladder/squeeze stile(s) a dog can’t get through.
- Buggy: Stiles or rough going on the route.
- Knees: A long, steep ~32% drop around the 18.4 km mark — hard on the knees.
On the line: 20 gates · 1 kissing gate · 2 ladder stiles · 1 step-over stile · 2 stiles (type unmapped)
These are mapped barriers, from OpenStreetMap — coverage in the Lakes is good but not guaranteed complete. Spotted a stile or gate we’ve missed? Tell us (opens in new tab) and we’ll fix it. Barrier data as of 2026-07-18. Access data © OpenStreetMap contributors (via Overpass).
Pacing
| Summit | Cumulative | Ascent | Time (fast–steady) |
|---|---|---|---|
| 1Red Screes | 6.3 km | 738 m | 2:29–3:18 |
| 2Dove Crag | 10.0 km | 1024 m | 3:43–4:56 |
| 3Hart Crag | 11.4 km | 1111 m | 4:08–5:29 |
| 4Fairfield | 12.6 km | 1198 m | 4:31–6:00 |
| 5Great Rigg | 14.0 km | 1199 m | 4:47–6:22 |
| 6Heron Pike North Top (Rydal Fell) | 15.8 km | 1234 m | 5:13–6:57 |
| 7Heron Pike (Rydal) | 16.2 km | 1254 m | 5:20–7:06 |
| 8Nab Scar | 17.4 km | 1259 m | 5:35–7:26 |
| Finish | 22.4 km | 1350 m | 6:44–8:57 |
Naismith-based estimate — a fast/steady range. Your pace will vary. These use Naismith’s textbook constants (5 km/h, 600 m of ascent an hour). Measured against a pace fitted to 41 recorded Lakeland walks they run about 8% slow, and we have left them that way deliberately: a slow estimate strands nobody.
The walk, stage by stage
- 1
Start → Red Screes (6.3 km, 738 m)
Leave Ambleside and head up the Kirkstone Road. Branch off onto the fell footpath to begin the long, steep ascent along the ridge between the stone boundary walls, heading over Snarker Pike to the summit of Red Screes
WaypointsAmbleside, Kirkstone Road, Snarker Pike, Red Screes summit
Decision pointThe long stone wall acts as a constant, reliable handrail up the ridge toward Snarker Pike
Easy to get wrongA relentless and steep 738 m pull right out of the gate with a demanding 12% average incline. This is a severe test for beginners early in the day
If you need to get offTurn around and descend the ridge line directly back into Ambleside
- 2
Red Screes → Dove Crag (3.8 km, 287 m)
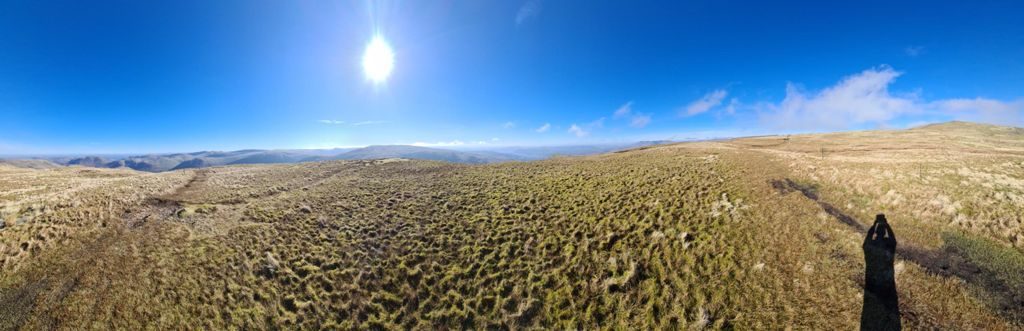
Descend north-west from Red Screes down to Scandale Pass. From the col, ascend the slopes over Bakestones Moss, picking your way up to join the main eastern arm of the Fairfield Horseshoe at Dove Crag
WaypointsRed Screes summit, Scandale Pass, Bakestones Moss, Dove Crag summit cairn
Decision pointFaint paths and old fence posts lead across the moss up to Dove Crag
Easy to get wrongThe steep, stony descent to Scandale Pass requires care. Bakestones Moss can hold water and be boggy after rain
If you need to get offAt Scandale Pass, turn left (south) to drop safely into the Scandale valley, returning via the valley floor directly to Ambleside
© Lee McCoy - 3
Dove Crag → Hart Crag (1.3 km, 86 m)
Follow the well-trodden ridge path north-west, dipping into a shallow rocky depression over Link Hause before the brief, rocky climb up to Hart Crag
WaypointsDove Crag summit, Hart Crag summit cairn
Decision pointA faint path weaves between large stones, marked by occasional small cairns
Easy to get wrongThe ground becomes noticeably rockier here with some minor scrambling steps that can intimidate new hikers
If you need to get offDo not descend into the coves to the east or west; retrace steps to Dove Crag and drop to Scandale Pass
- 4
Hart Crag → Fairfield (1.2 km, 88 m)
Descend slightly from Hart Crag over the depression of Link Hause before beginning the final stony ascent up onto the broad, flat plateau of Fairfield
WaypointsHart Crag, Link Hause, Fairfield summit wind shelter
Decision pointThe prominent wind shelter marks the highest point. You must use a strict compass bearing from the summit to locate the southern path heading to Great Rigg
Easy to get wrongFairfield's vast, flat plateau is notoriously difficult to navigate in poor weather. In thick cloud, finding the correct descent path poses a serious navigational hazard, especially for beginners
If you need to get offThe safest retreat in a complete whiteout is often to retrace the ridge back towards Hart Crag rather than guessing the descent path blindly off the plateau
- 5
Fairfield → Great Rigg (1.4 km, 0 m)
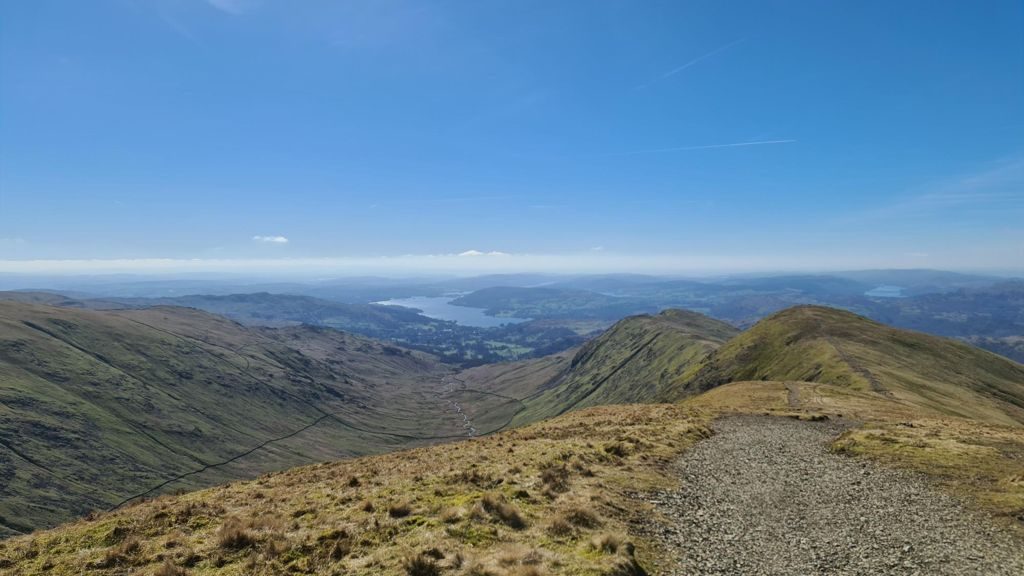
From the summit of Fairfield, turn sharply south. Pick up the cairned, wide grassy footpath heading along the descending ridge to Great Rigg
WaypointsFairfield plateau, Great Rigg summit
Decision pointA well-cairned path marks the start of the southern ridge line
Easy to get wrongThe initial descent off Fairfield is loose, stony, and slippery
If you need to get offThere are no safe immediate valley descents from this ridge; you must push forward to Great Rigg or retreat to Fairfield
© Lee McCoy - 6
Great Rigg → Heron Pike North Top (Rydal Fell) (1.9 km, 35 m)
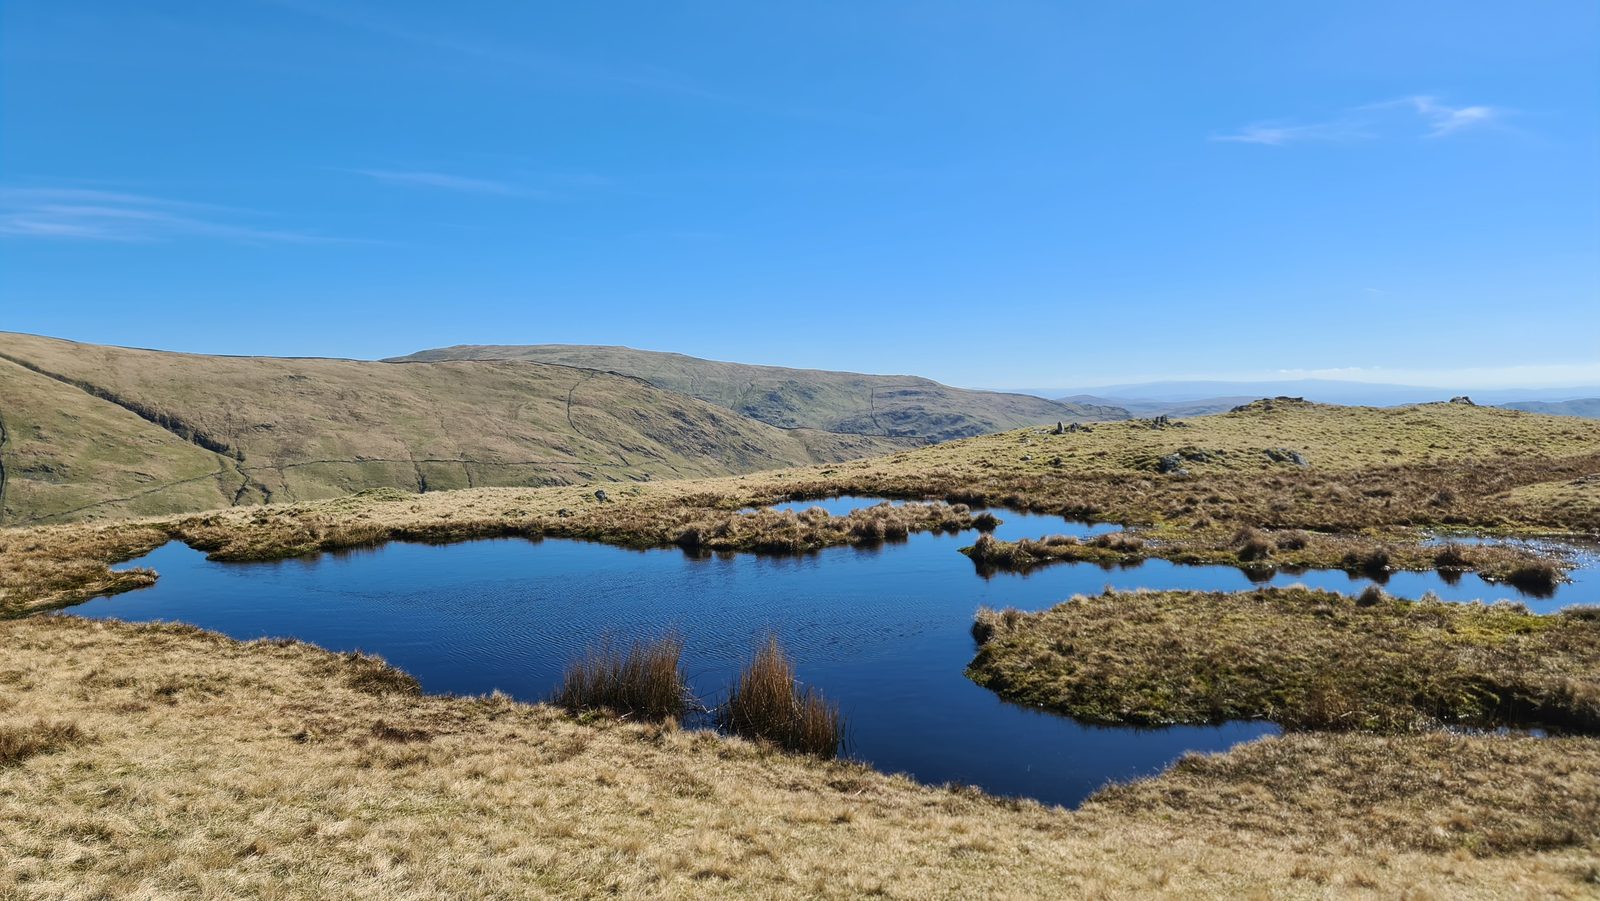
At the Great Rigg cairn, take the left-hand path following the long, undulating ridge line south towards Heron Pike
WaypointsGreat Rigg summit, Heron Pike North Top
Decision pointThe prominent ridge itself serves as a continuous visual handrail southward
Easy to get wrongAn exposed but straightforward grassy ridge walk. Wind speeds can be high across this open section
If you need to get offContinue along the ridge; dropping into Rydal Beck to the east is dangerously steep
© Lee McCoy - 7
Heron Pike North Top (Rydal Fell) → Heron Pike (Rydal) (0.4 km, 20 m)
A short, nearly level stroll southwards along the ridge crest to the true summit of Heron Pike
WaypointsHeron Pike North Top, Heron Pike summit
Decision pointKeep following the well-worn main trod
Easy to get wrongVery straightforward, flat terrain offering sweeping views down to the valley
If you need to get offPush forward; you are nearing the final descent
- 8
Heron Pike (Rydal) → Nab Scar (1.2 km, 5 m)
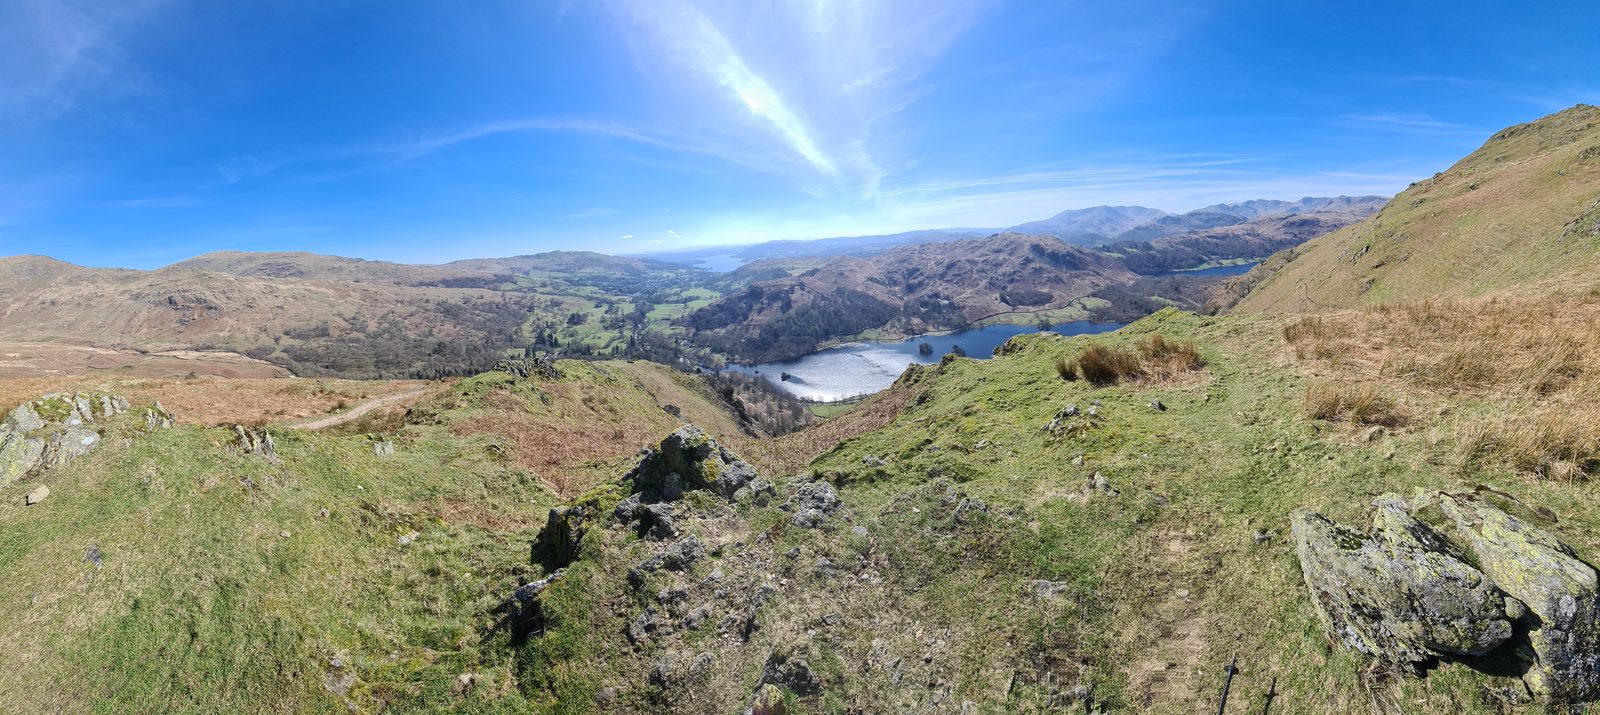
Continue south from Heron Pike, following the path as it drops progressively down the nose of the ridge to the prominent viewpoint at Nab Scar
WaypointsHeron Pike, Nab Scar summit
Decision pointThe path is completely unmistakable as it funnels down the narrowing ridge
Easy to get wrongThe gradient steepens significantly here, putting pressure on tired knees
If you need to get offNo alternate options; continue the descent
Nab Scar → Finish (5.0 km, 91 m)
Descend the steep, heavily pitched steps through Dockey Tarn Plantation. Upon reaching the bottom, turn left just above Rydal Hall onto the footpath signposted for Ambleside. Walk past the Rydal Hall tearooms and the famous Rydal Grot waterfall, then follow Rydal Road back into Ambleside
WaypointsDockey Tarn Plantation, Rydal Hall, Rydal Grot, Rydal Road, Ambleside
Decision pointClear footpath signs weave through the Rydal Hall buildings pointing back to Ambleside
Easy to get wrongThe many stone steps descending Nab Scar are jarring and can severely test tired knees at the end of a long day. The final stretch into Ambleside is largely flat but lengthy
If you need to get offOnce at Rydal Hall, you are off the fell. Buses run along the A591 back to Ambleside if the final walk into town is too much
© Lee McCoy


Summits bagged (8)
- 1Red Screes779 m
- 2Dove Crag792 m
- 3Hart Crag823 m
- 4Fairfield873 m
- 5Great Rigg766 m
- 6Heron Pike North Top (Rydal Fell)621 m
- 7Heron Pike (Rydal)612 m
- 8Nab Scar450 m
In the order you walk them — the same numbers the elevation profile, the stage notes and the pacing table use.
Getting there & parking
Positions are approximate. Lakeland car parks fill before 9am on fine weekends.
Vehicles are left entirely at their owner’s risk. We list places people park; we cannot vouch for any of them. Judge it on the day: take valuables with you, leave nothing on show, and if a spot feels wrong when you get there, park somewhere else.
Every option near this start, on the parking map →
Water, shelter & getting away
On-route facilities © OpenStreetMap contributors — an absent marker does not mean the facility isn’t there.
Buses
The 505 stops at Ambleside, at Hayes Garden Centre, 340 m from this start. Last bus: Monday to Friday 22:43 towards Grasmere (555) and 20:29 towards Keswick (555) and 09:47 towards Coniston (505) and 09:21 towards Dungeon Ghyll (516); Saturday 22:43 towards Grasmere (555) and 20:29 towards Keswick (555) and 09:47 towards Coniston (505) and 09:21 towards Dungeon Ghyll (516); Sunday 19:09 towards Grasmere (555) and 18:15 towards Keswick (555) and 09:47 towards Coniston (505) and 09:21 towards Dungeon Ghyll (516). Checked against the operator’s timetable, 7 September 2026. Times here are a guide, not a promise — leave yourself more than the minute.
The 505 passes this route at 0.3 km (Ambleside bus interchange (Stand 1), 60 m off the line). Other services cross it too — 508 at 6.1 km, 555 at 19.7 km.
Rural routes change seasonally — confirm on stagecoachbus.com (opens in new tab) or Traveline before travelling.
If the parking is full
If the first one is full, these do not all fill together. The 3 below sit in different places or are different kinds of parking, so a busy morning at one does not mean a busy morning at all of them.
- Wansfell Pike (verge)
- Ambleside, Low Fold (paid)
- Wansfell (layby)
Worked out from the parking we hold within walking reach of this route and the other walks each place serves — two places that serve the same walks fill for the same reasons. We are not saying whether anywhere has spaces today, and we never will: this is what exists, not what is free.
When the sun reaches the tops
Not sunrise — the moment the sun clears the skyline from that summit, which on a fell with high ground to its east can be a good deal later. The two equinoxes are shown because they fall in the walking season, and late December too wherever a top keeps you waiting then; the clock gap between the equinoxes is British Summer Time, not the hill. Rounded to the nearest quarter hour and meant as a general idea, not a schedule.
- Red Screes — in late March the sun reaches it around 06:15, with the sunrise. In late September, about 07:00.
- Dove Crag — in late March the sun reaches it around 06:15, with the sunrise. In late September, about 07:00.
- Hart Crag — in late March the sun reaches it around 06:15, with the sunrise. In late September, about 07:00.
- Fairfield — in late March the sun reaches it around 06:15, with the sunrise. In late September, about 07:00.
- Great Rigg — in late March the sun reaches it around 06:15, with the sunrise. In late September, about 07:00.
- Heron Pike (Rydal) — in late March the sun reaches it around 06:30, about a quarter of an hour later. In late September, about 07:15. It waits longest in midsummer — about half an hour after sunrise.
- Nab Scar — in late March the sun reaches it around 06:30, about a quarter of an hour later. In late September, about 07:15. It waits longest in midsummer — about half an hour after sunrise.
Modelled from a 30 m elevation model against each summit’s own skyline — the same figures the fell pages carry, never observed. Cloud is not in it.
Safety & conditions
Check live conditions in the “From the fells” panel, on MWIS (opens in new tab) and the Met Office mountain forecast (opens in new tab) before you set off.
Make it easier or harder
Short version: turn back at about 11.6 km (drop to Start) — roughly half the distance.
Places to stay near this start
From Ambleside or Grasmere: 11 places

