
Fairfield Horseshoe
Photo: Photo: Rwendland, CC BY-SA 4.0, via Wikimedia Commons (opens in new tab)
Key facts
Difficulty profile
Five independent axes, not one score. “Desk” ratings come from maps and guidebooks, not yet walked — treat them as a guide, not a survey.
Conditions on this route
We score every Lakeland Wainwright each morning on cloud, wind, rain and underfoot, and this route crosses 8 of them. The worst summit governs the verdict — a route is only as kind as its roughest top.
Modelled guidance — not a substitute for the mountain forecast or your own judgement. See how every fell ranks today →
Daylight & turnaround
Daylight is short from October to February — check today’s sunrise and sunset before you set off, and carry a head-torch and spare batteries. On short days, decide your turn-back time before you start.
Why this matters: 78% of Mountain Rescue call-outs come after midday — the day runs out on the way home, not on the way up. See also walking in bad weather and today’s conditions.
1 Nab Scar2 Heron Pike (Rydal)3 Heron Pike North Top (Rydal Fell)4 Great Rigg5 Fairfield6 Hart Crag7 Dove Crag8 High Pike (Scandale)9 Low Pike
⚑ escape route
Easy 71%Moderate 23%Hard 7%Severe
Free mapping: OpenTopoMap / OpenStreetMap (switch layers top-right).
This walk covers about 16.92 km with around 925 m of ascent, taking in 9 summits. The map above shows the line; the elevation profile and stage notes are below.
Access & barriers
Can a dog, a buggy or dodgy knees manage this route? A quick read from the gates and stiles mapped along the way.
- Dog: 1 ladder/squeeze stile(s) a dog can’t get through.
- Buggy: Stiles or rough going on the route.
- Knees: A sustained ~30% descent around the 11.3 km mark — a little jarring on tired knees.
On the line: 18 gates · 1 kissing gate · 1 ladder stile · 1 step-over stile · 1 stile (type unmapped)
These are mapped barriers, from OpenStreetMap — coverage in the Lakes is good but not guaranteed complete. Spotted a stile or gate we’ve missed? Tell us (opens in new tab) and we’ll fix it. Barrier data as of 2026-07-09. Access data © OpenStreetMap contributors (via Overpass).
Pacing
| Summit | Cumulative | Ascent | Time (fast–steady) |
|---|---|---|---|
| 1Nab Scar | 2.4 km | 403 m | 1:09–1:31 |
| 2Heron Pike (Rydal) | 3.5 km | 558 m | 1:38–2:10 |
| 3Heron Pike North Top (Rydal Fell) | 3.9 km | 562 m | 1:43–2:17 |
| 4Great Rigg | 5.7 km | 721 m | 2:21–3:07 |
| 5Fairfield | 7.1 km | 862 m | 2:51–3:48 |
| 6Hart Crag | 8.3 km | 867 m | 3:06–4:08 |
| 7Dove Crag | 9.4 km | 898 m | 3:23–4:29 |
| 8High Pike (Scandale) | 11.1 km | 899 m | 3:43–4:56 |
| 9Low Pike | 12.1 km | 899 m | 3:55–5:13 |
| Finish | 16.9 km | 925 m | 4:56–6:33 |
Naismith-based estimate — a fast/steady range. Your pace will vary. These use Naismith’s textbook constants (5 km/h, 600 m of ascent an hour). Measured against a pace fitted to 41 recorded Lakeland walks they run about 8% slow, and we have left them that way deliberately: a slow estimate strands nobody.
The walk, stage by stage
- 1
Rydal (or Ambleside) → Nab Scar (2.4 km, 403 m)
Decision pointFrom Pelter Bridge car park turn left past the Cote How venue, then take the next right through the gate and on through the next. At the fork bear right to the bridge over the Rothay, cross the road and turn left into Dora's Field and through the church grounds. At the small road (parking bollards) turn left up the incline, then take the track left by Hart Head Cottage and follow the signs up. Keep the wall close on the steep pitched ascent - it shelters you from any westerly.
Easy to get wrongA sustained, steep pull with no real let-up. At Nab Scar's summit the crags drop steeply above Rydal Water - stay well back from the edge.
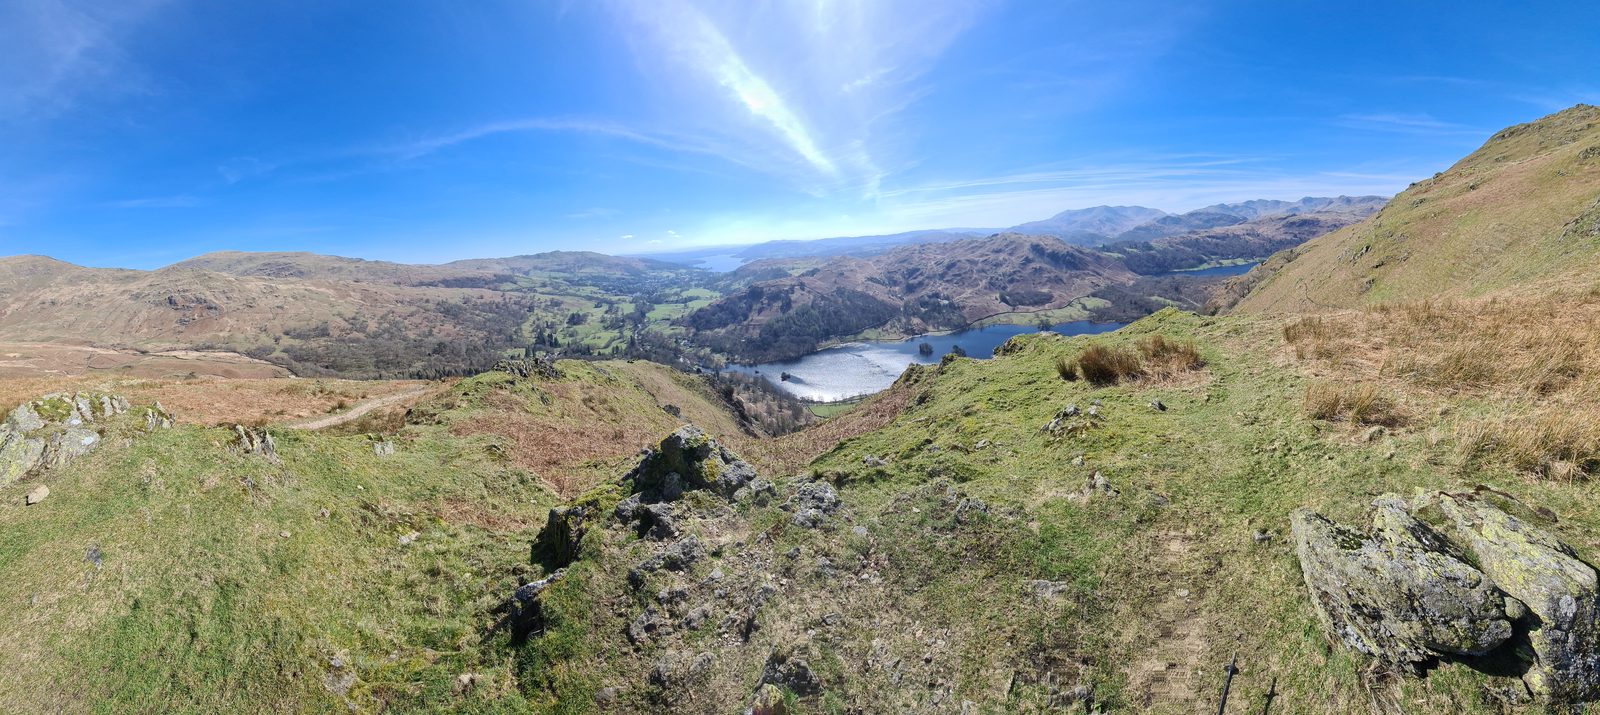
© Lee McCoy - 2
Nab Scar → Heron Pike (Rydal) (1.1 km, 156 m)
Decision pointFollow the clear, cairned ridge north and keep heading up - you can't really go wrong as the ridge narrows pleasantly to Heron Pike, where the full horseshoe opens up.
Easy to get wrongThe odd boggy patch underfoot, and the wind tends to pick up along here - be ready to add a layer.
- 3
Heron Pike (Rydal) → Heron Pike North Top (Rydal Fell) (0.4 km, 4 m)
Decision pointContinue north along the broad grassy crest; the path is unmistakable over the minor top of Rydal Fell.
Easy to get wrongA precipitous drop on the right at Erne Crag - keep to the main path.
- 4
Heron Pike North Top (Rydal Fell) → Great Rigg (1.8 km, 159 m)
Decision pointBeyond Rydal Fell the path bends gently left and eases into a long, steady, manageable climb to Great Rigg.
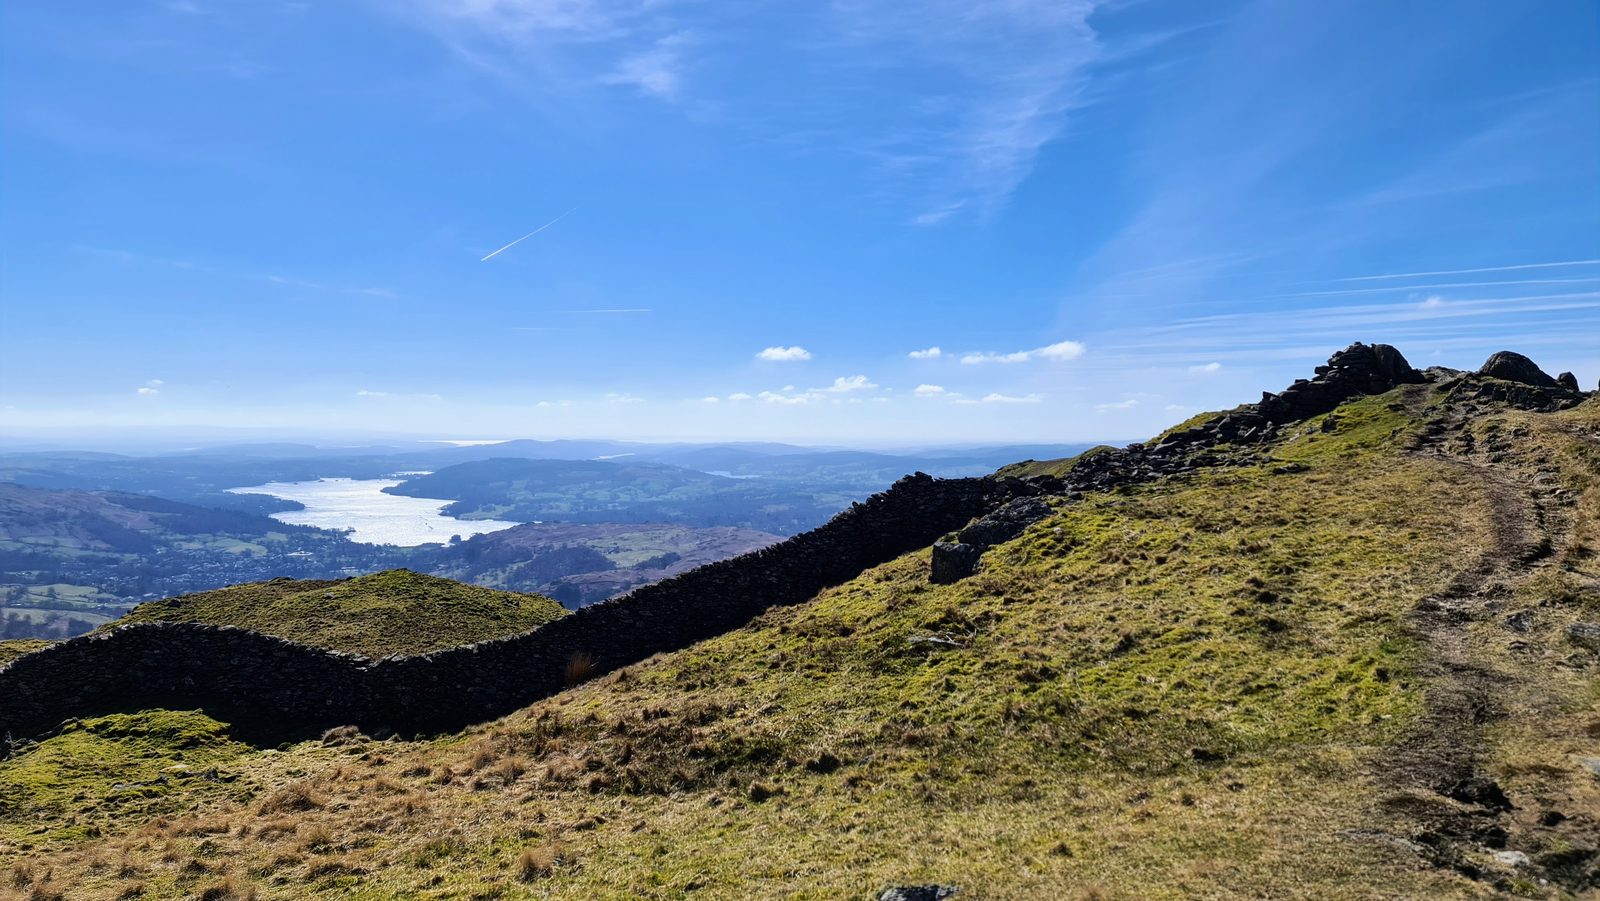
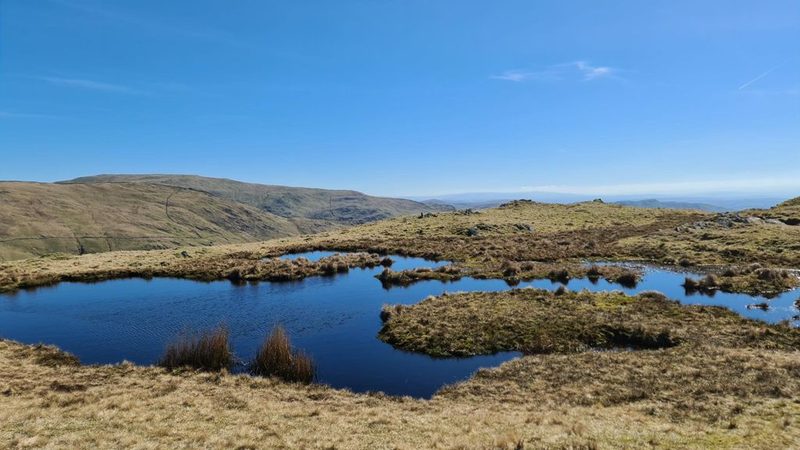
© Lee McCoy · 2 photographs - 5
Great Rigg → Fairfield (1.4 km, 141 m)
Decision pointA slight drop, then the final push to the day's high point. The ground roughens noticeably - exposed rock and loose stone - onto Fairfield's broad stony summit plateau with its cairns and wind shelters.
- 6
Fairfield → Hart Crag (1.2 km, 5 m)
Decision pointLeaving Fairfield you must turn EAST (left, if you came up from Great Rigg) and pick out the cairned path; it drops quickly and stonily to a narrow hause at the head of Rydale, then climbs to Hart Crag (the rocky summit is a few steps south of the GPX line).
Easy to get wrongThe most critical navigation point on the route. Fairfield's plateau is broad and featureless and in mist is genuinely confusing, with steep craggy drops on most sides - carry a compass and a GPS with the route loaded, and use them. The rock can be greasy when wet.
- 7
Hart Crag → Dove Crag (1.1 km, 30 m)
Decision pointDescend the awkward ridge to a grassy depression and meet a wall - keep it on your left from here; it is your guide for the rest of the walk. Follow it up to Dove Crag, where the route turns south for home along the wall.
Easy to get wrongThe most awkward section of the descent - rock that's easy to slip on wet or dry, and easy to turn an ankle. Take your time.
- 8
Dove Crag → High Pike (Scandale) (1.7 km, 1 m)
Decision pointContinue south along the wall; the terrain eases to a simple path down a shallower grassy gradient. Keep close to the wall.
Easy to get wrongLight rocky scrambles at High Pike - good fun in the dry; in bad weather take the path around them on the east side.
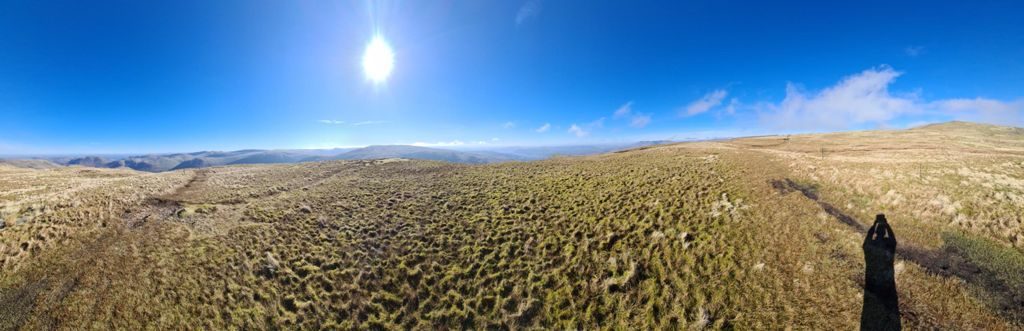
© Lee McCoy - 9
High Pike (Scandale) → Low Pike (1.1 km, 0 m)
Decision pointStay beside the wall over Low Pike - more light scrambling, with an easier path round the east side in poor conditions.
Easy to get wrongDeep bog just above Low Brock Crags, marked with a 'Warning Deep Bog' sign - pick your line carefully and test each step with a pole. You can cross to the west side on a ladder stile, or make a wide sweep to the east.
Low Pike → Finish (4.8 km, 26 m)
Decision pointDrop down the direct line to Low Sweden Bridge - rougher underfoot, with a short downclimb (the gentler alternative is the footpath left to High Sweden Coppice, which avoids the scrambly outcrops). Follow the farm track down as it becomes a lane; don't cross Scandale Beck onto Nook Lane - instead bear north to Rydal Hall's walled gardens and cafe, or carry on to the A591 and walk north under half a mile, turning left over the River Rothay back to the car park.
Easy to get wrongThe Low Sweden Bridge line includes a short downclimb and is rougher than the High Sweden Coppice path.


Summits bagged (9)
- 1Nab Scar450 m
- 2Heron Pike (Rydal)612 m
- 3Heron Pike North Top (Rydal Fell)621 m
- 4Great Rigg766 m
- 5Fairfield873 m
- 6Hart Crag823 m
- 7Dove Crag792 m
- 8High Pike (Scandale)657 m
- 9Low Pike508 m
In the order you walk them — the same numbers the elevation profile, the stage notes and the pacing table use.
Getting there & parking
Positions are approximate. Lakeland car parks fill before 9am on fine weekends.
Vehicles are left entirely at their owner’s risk. We list places people park; we cannot vouch for any of them. Judge it on the day: take valuables with you, leave nothing on show, and if a spot feels wrong when you get there, park somewhere else.
Every option near this start, on the parking map →
Water, shelter & getting away
On-route facilities © OpenStreetMap contributors — an absent marker does not mean the facility isn’t there.
Buses
The 555 stops at Rydal, at White Moss Common. From there it is 2.3 km and 121 m of ascent to this start — a walk in before the walk. Last bus: Monday to Friday 23:06 towards Kendal (555) and 21:58 towards Ambleside (555) and 20:58 towards Windermere (555) and 19:20 towards Bowness on Windermere (599); Saturday 23:06 towards Kendal (555) and 21:58 towards Ambleside (555) and 20:58 towards Windermere (555) and 19:20 towards Bowness on Windermere (599); Sunday 20:05 towards Windermere (555) and 19:35 towards Kendal (555) and 19:20 towards Bowness on Windermere (599). Checked against the operator’s timetable, 7 September 2026. Times here are a guide, not a promise — leave yourself more than the minute.
The 555 passes this route at 0.5 km (Church for Rydal Mount (opp), 80 m off the line). It passes again at 15.0 km.
Rural routes change seasonally — confirm on stagecoachbus.com (opens in new tab) or Traveline before travelling.
If the parking is full
There is no real plan B here. Every place we know beside this route serves the same walks and sits close together, so if one is full the others usually are too. Worth starting early, or having a different walk in mind before you set off.
- Pelter Bridge, Rydal (paid)
- Rydal car park
- Ambleside Cricket Club car park
Worked out from the parking we hold within walking reach of this route and the other walks each place serves — two places that serve the same walks fill for the same reasons. We are not saying whether anywhere has spaces today, and we never will: this is what exists, not what is free.
Toilets and refreshments
At Pelter Bridge, Rydal (paid), the closest parking we hold to where this route starts:
Distances are straight lines from the car park, not walking routes. Opening hours change; none of this is checked daily.
When the sun reaches the tops
Not sunrise — the moment the sun clears the skyline from that summit, which on a fell with high ground to its east can be a good deal later. The two equinoxes are shown because they fall in the walking season, and late December too wherever a top keeps you waiting then; the clock gap between the equinoxes is British Summer Time, not the hill. Rounded to the nearest quarter hour and meant as a general idea, not a schedule.
- Nab Scar — in late March the sun reaches it around 06:30, about a quarter of an hour later. In late September, about 07:15. It waits longest in midsummer — about half an hour after sunrise.
- Heron Pike (Rydal) — in late March the sun reaches it around 06:30, about a quarter of an hour later. In late September, about 07:15. It waits longest in midsummer — about half an hour after sunrise.
- Great Rigg — in late March the sun reaches it around 06:15, with the sunrise. In late September, about 07:00.
- Fairfield — in late March the sun reaches it around 06:15, with the sunrise. In late September, about 07:00.
- Hart Crag — in late March the sun reaches it around 06:15, with the sunrise. In late September, about 07:00.
- Dove Crag — in late March the sun reaches it around 06:15, with the sunrise. In late September, about 07:00.
- High Pike (Scandale) — in late March the sun reaches it around 06:45, about a quarter of an hour later. In late September, about 07:15. It waits longest in late March — about a quarter of an hour after sunrise.
- Low Pike — in late March the sun reaches it around 06:45, about half an hour later. In late September, about 07:30. It waits longest in late September — about half an hour after sunrise.
Modelled from a 30 m elevation model against each summit’s own skyline — the same figures the fell pages carry, never observed. Cloud is not in it.
Safety & conditions
- Fairfield's broad summit plateau is confusing in cloud — carry a map and compass and take a bearing before descending.
- A little easy scrambling in places, but nothing obligatory.
Hazard & incident notes: Fairfield
Check live conditions in the “From the fells” panel, on MWIS (opens in new tab) and the Met Office mountain forecast (opens in new tab) before you set off.
Escape routes
- At about 3.5 km: descend to Grasmere (cuts ~13.4 km) — Drop west off Heron Pike - the simplest early escape if you've had enough; paths lead down to Grasmere.
- At about 6.1 km: descend to Stone Arthur, then Grasmere (cuts ~10.8 km) — A sharp left about 100 m before Great Rigg backtracks to the rocky top of Stone Arthur (a drier rest) and down to Grasmere - the descent is steep and bracken-covered.
- At about 6.8 km: descend to Seat Sandal (west) (cuts ~10.1 km) — Between Great Rigg and Fairfield you can break off west towards Seat Sandal and Grisedale Hause; keep to the col and avoid the steeper ground to the north.
Bail-out lines verified on the ground. In poor visibility a marked descent can be safer than retracing a ridge.
Make it easier or harder
Easier: For a shorter, gentler day make it an out-and-back on the southern arm: up over Nab Scar to Heron Pike for the big horseshoe view, then return the same way - or simply turn back at Heron Pike, a straightforward retreat to Grasmere.
Harder: Lengthen the round: from Dove Crag take the careful quarter-mile north to the rim of the Dovedale cliffs; add Little Hart Crag on the descent if the light holds; or, for a much bigger day, drop north from Fairfield to take in St Sunday Crag.
Why this direction: Walked clockwise so the one steep, sustained pull - the pitched path up Nab Scar - comes early while you're fresh, and the day finishes with a gentler, view-filled descent over High and Low Pike. The anticlockwise version offers easier early bail-outs and a gentle beck-side finish, but saves those climbs for the end.
Short version: turn back at about 8.1 km (drop to Rydal (or Ambleside)) — roughly half the distance.
Places to stay near this start
From Rydal: 8 places in Ambleside

