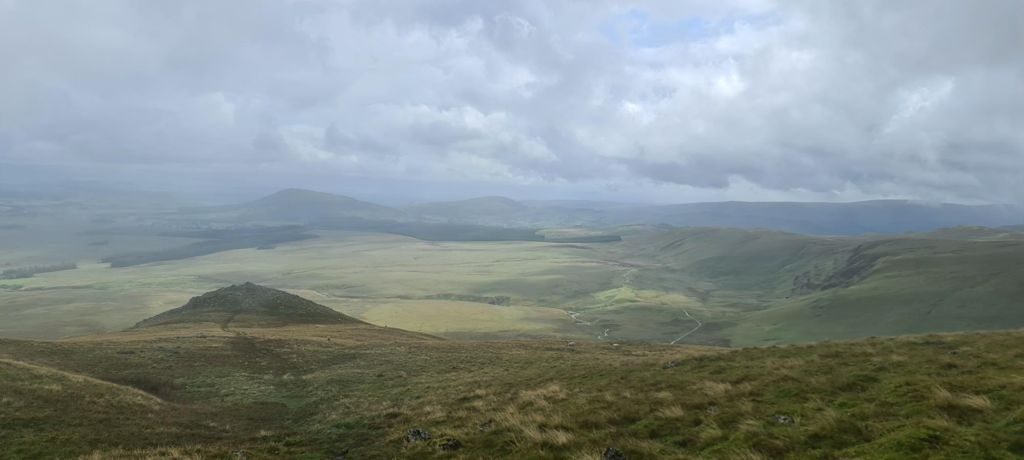
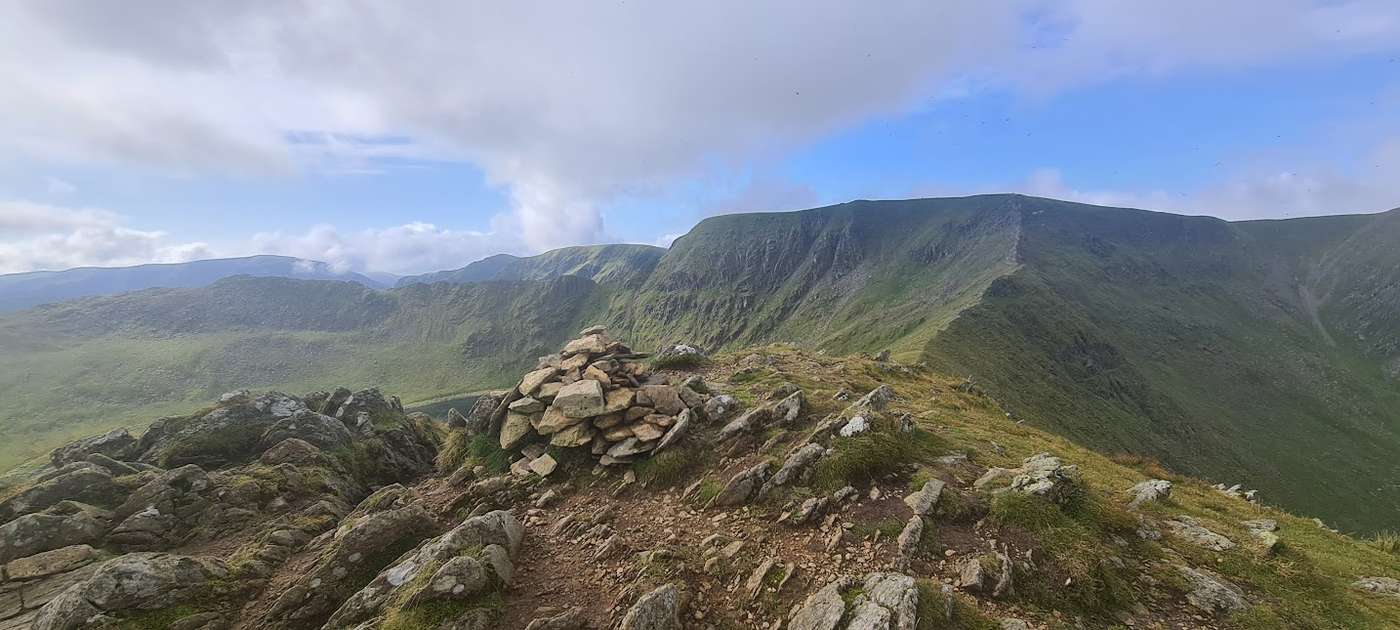
Brown Crag and Raise
Key facts
Difficulty profile
Five independent axes, not one score. “Desk” ratings come from maps and guidebooks, not yet walked — treat them as a guide, not a survey.
Conditions on this route
We score every Lakeland Wainwright each morning on cloud, wind, rain and underfoot, and this route crosses 2 of them. The worst summit governs the verdict — a route is only as kind as its roughest top.
Modelled guidance — not a substitute for the mountain forecast or your own judgement. See how every fell ranks today →
Daylight & turnaround
Daylight is short from October to February — check today’s sunrise and sunset before you set off, and carry a head-torch and spare batteries. On short days, decide your turn-back time before you start.
Why this matters: 78% of Mountain Rescue call-outs come after midday — the day runs out on the way home, not on the way up. See also walking in bad weather and today’s conditions.
1 Brown Crag2 White Side3 Raise
Easy 57%Moderate 25%Hard 9%Severe 9%
Free mapping: OpenTopoMap / OpenStreetMap (switch layers top-right).
This walk covers about 10.64 km with around 749 m of ascent, taking in 3 summits. The map above shows the line; the elevation profile and stage notes are below.
Access & barriers
Can a dog, a buggy or dodgy knees manage this route? A quick read from the gates and stiles mapped along the way.
- Dog: Gates and kissing gates only — a dog can do the whole route.
- Buggy: Stiles or rough going on the route.
- Knees: A long, steep ~44% drop around the 9.1 km mark — hard on the knees.
On the line: 8 gates
These are mapped barriers, from OpenStreetMap — coverage in the Lakes is good but not guaranteed complete. Spotted a stile or gate we’ve missed? Tell us (opens in new tab) and we’ll fix it. Barrier data as of 2026-07-26. Access data © OpenStreetMap contributors (via Overpass).
Pacing
| Summit | Cumulative | Ascent | Time (fast–steady) |
|---|---|---|---|
| 1Brown Crag | 2.8 km | 415 m | 1:15–1:40 |
| 2White Side | 5.4 km | 687 m | 2:14–2:58 |
| 3Raise | 6.3 km | 731 m | 2:29–3:18 |
| Finish | 10.6 km | 749 m | 3:23–4:29 |
Naismith-based estimate — a fast/steady range. Your pace will vary. These use Naismith’s textbook constants (5 km/h, 600 m of ascent an hour). Measured against a pace fitted to 41 recorded Lakeland walks they run about 8% slow, and we have left them that way deliberately: a slow estimate strands nobody.
The walk, stage by stage
- 1
Start → Brown Crag (2.8 km, 415 m)
From the Thirlmere valley floor, cross the intake walls and begin the relentlessly steep, grassy pull up the western flanks of the Helvellyn range. The path is a calf-burning zig-zag that forces its way through thick summer bracken and heather before cresting onto the minor, rocky protrusion of Brown Crag
WaypointsThirlmere valley (start), Fisher Place Gill (vicinity), Brown Crag summit (approx 580m)
Decision pointUse the distinct ravines of the plunging valley gills to your left and right to keep you corralled onto the correct ascending spur. The bulk of the Helvellyn range skyline looms directly above you to the east as a massive, unavoidable aiming point
Easy to get wrongA 15% average gradient means there is zero warm-up on this route. The lower slopes are frequently choked with chest-high bracken in the summer months, which obscures the faint footpaths, traps heat, and harbors sheep ticks. The terrain underfoot is largely trackless, tussocky grass that requires significant exertion
If you need to get offTurn 180 degrees and carefully retrace your steps straight back down the grassy slope. The Thirlmere valley floor and the A591 road provide an infallible, continuous visual target for a safe retreat
- 2
Brown Crag → White Side (2.6 km, 273 m)
Leave the minor bump of Brown Crag and continue the eastward grind up the increasingly stony shoulder. The thick vegetation thins out into short, wind-blasted turf and loose rock as you finally gain the crest of the main Helvellyn ridge, turning slightly to reach the airy summit of White Side
WaypointsBrown Crag, White Side western shoulder, White Side summit (727m)
Decision pointThe ascending ridge naturally broadens as it meets the main Helvellyn spine. The heavily worn, unmistakable highway of the main ridge path acts as a massive catching feature; once you hit it, White Side's summit is just a short pull away
Easy to get wrongAs you break out of the valley's shelter and gain elevation, exposure to the prevailing westerly winds increases dramatically. The final pull onto White Side features heavily eroded, stony ground that can be slick after rain and is fully exposed to the harsh weather funneling over the central fells
If you need to get offRetreating west down your exact ascent spur is the safest option. Avoid dropping north or south off the spur into the steep, trackless, and dangerous ravine systems of Fisher Place Gill or Stanah Gill
- 3
White Side → Raise (0.9 km, 44 m)
Head north from White Side along the broad, high-level plateau of the Helvellyn ridge. The route dips into a shallow, stony saddle before making a short, easy pull over shattered volcanic rock to reach the prominent summit cairn of Raise
WaypointsWhite Side, connecting saddle, Raise summit (883m)
Decision pointThe main ridge path is deeply scarred into the landscape and heavily cairned. Keep the steep, plunging drops into the Glenridding valley clearly to your right (east) to safely traverse the saddle
Easy to get wrongThe terrain is a jumble of loose stones and scree which can be jarring on the ankles. This high plateau is notorious for its severe winter conditions; it holds snow longer than almost anywhere else in the district (hence the nearby Lake District Ski Club tow), and in thick hill fog, the broadness of the ridge makes it highly disorienting
If you need to get offIf weather closes in rapidly, push forward slightly to the major crossroads of Sticks Pass just north of Raise, which offers reliable, engineered descent routes into both the Thirlmere and Ullswater valleys
Raise → Finish (4.3 km, 18 m)
Drop north off Raise to intersect the major ancient crossroads of Sticks Pass. Turn west, plunging off the high ridge down a relentlessly steep, heavily engineered zig-zag path that flanks Sticks Gill, dropping all the way back to the valley floor and the Thirlmere starting point
WaypointsRaise northern descent, Sticks Pass, Sticks Gill descent path, Thirlmere valley (finish)
Decision pointThe Sticks Pass crossroads is marked by a large cairn and multiple converging paths. Once you turn west, the deep ravine of Sticks Gill on your left acts as an infallible, continuous handrail all the way down to the valley floor
Easy to get wrongA 713m drop over just 4.3 km is a brutal, knee-destroying descent. The pitched stone path down from Sticks Pass is heavily eroded and becomes highly polished and greasy in wet weather, acting like a rocky slip-and-slide. Walking poles are virtually mandatory here to absorb the immense impact on your joints at the end of the day
If you need to get offYou are on one of the most established escape routes from the Helvellyn range. Stick strictly to the engineered zig-zag path, entirely avoiding the temptation to cut corners down the perilously steep grass banks or drop into the dangerous stream gully itself
Summits bagged (3)
- 1Brown Crag610 m
- 2White Side863 m
- 3Raise883 m
In the order you walk them — the same numbers the elevation profile, the stage notes and the pacing table use.
Getting there & parking
Positions are approximate. Lakeland car parks fill before 9am on fine weekends.
Vehicles are left entirely at their owner’s risk. We list places people park; we cannot vouch for any of them. Judge it on the day: take valuables with you, leave nothing on show, and if a spot feels wrong when you get there, park somewhere else.
Every option near this start, on the parking map →
Water, shelter & getting away
On-route facilities © OpenStreetMap contributors — an absent marker does not mean the facility isn’t there.
Buses
The 555 stops at Stanah Dam road end (near), 290 m from this start. Last bus: Monday to Friday 21:35 towards Ambleside (555) and 20:35 towards Windermere (555) and 18:12 towards Kendal (555); Saturday 21:35 towards Ambleside (555) and 20:35 towards Windermere (555) and 18:12 towards Kendal (555); Sunday 19:42 towards Windermere (555) and 18:12 towards Kendal (555). Checked against the operator’s timetable, 7 September 2026. Times here are a guide, not a promise — leave yourself more than the minute.
The 555 passes this route at 0.6 km (Legburthwaite (opp), 80 m off the line).
Rural routes change seasonally — confirm on stagecoachbus.com (opens in new tab) or Traveline before travelling.
If the parking is full
There is no real plan B here. Every place we know beside this route serves the same walks and sits close together, so if one is full the others usually are too. Worth starting early, or having a different walk in mind before you set off.
- Legburthwaite (United Utilities, small)
- Castle Rock (layby)
- Great How (layby)
Worked out from the parking we hold within walking reach of this route and the other walks each place serves — two places that serve the same walks fill for the same reasons. We are not saying whether anywhere has spaces today, and we never will: this is what exists, not what is free.
Toilets and refreshments
At Legburthwaite (United Utilities, small), the closest parking we hold to where this route starts:
Distances are straight lines from the car park, not walking routes. Opening hours change; none of this is checked daily.
Safety & conditions
Check live conditions in the “From the fells” panel, on MWIS (opens in new tab) and the Met Office mountain forecast (opens in new tab) before you set off.
Make it easier or harder
Short version: turn back at about 5.7 km (drop to Start) — roughly half the distance.